❌

Normal view

There are new articles available, click to refresh the page.
Before yesterdayMain stream

Toro ride-on mower fuel system blues

By: Owen
18 June 2024 at 00:14

I have a Toro ride on mower (riding mower in North America) which I ran out of fuel when it was quite new (<1y) and having put 5l of fuel in the tank, it would not start after quite a bit of cranking.

In this instance, the battery failed. Prolonged cranking can buckle battery plates, or open intercell connecting links, and although this was prolonged cranking, it was not ridiculously long. Perhaps the battery was the real cause of the failure?

Nevertheless, I asked what I could do to prevent this recurring.

Well, with best intentions of never allowing the fuel to get low, it has run out of fuel a few times over 10y and has not restarted quickly, so was primed by injecting fuel into the carburettor hose.

Time for diagnostics

A note, the engine has been run on Ethanol free ULP, no Ethanol, ever.

Is the pump faulty?

This should not be the first question, but after market impulse fuel pumps are inexpensive and it is an easy test.

So, the pump was replaced and the old one dismantled and inspected. It was 2y old, and I was surprised that the valves were not as flexible as I expected… so maybe this is the problem.

Time showed the new pump was susceptible, time to do some logical analysis of the problem.

Is there an air leak that compromises pump performance when it is dry?

It is not easy to access the fuel tank end of the fuel hose, so as a shortcut, the hose was crimped off about 300mm from the fuel tank, the outlet hose removed from the fuel pump and a vacuum test conducted to check hoses, fuel filter, fuel pump.

That revealed a tendency for leaks at hose ends if the hose clamps were not applied over the barb or bulge in the nipple. Otherwise everything was good.

Note that air leaks are insidious, small air leaks may result in the engine running too lean at times, and that can cause expensive damage.

Perhaps that fixed the problem?

No.

A primer bulb

A primer bulb was inserted in the fuel line near to the tank. This allows for manually priming the carburettor after a fuel run-out… minimising long cranking and the risk of battery damage.

A 6mm primer bulb was purchased on Aliexpress for about $5.

Above, the primer was cut into the fuel line and the fuel line length adjusted so the primer bulb in suspended in air to avoid abrasion. The fuel line is zip tied to the wiring harness between filter and primer (not seen here due to the cross member).

The fuel line appears to be 6mm bore or perhaps 1/4β€³. 13.3mm (3/8 PEX) One-ear hose clamps were used to secure the hose.

The primer works fine, even with just a small amount of fuel in the tank, it takes quite a few squeezes to reach pressure.

One thing it will show is leaks upstream due to ineffective clamps… though note pressure tests the hose fitting in a more demanding way than the normal vacuum mode.

Last update: 19th June, 2024, 12:25 PM

SX25 chainsaw (G2500 clone) internal pics after 50h runtime

By: Owen
16 June 2024 at 20:58

This is a record of the internals of a SX25 top handle or arborist chainsaw purchased for about $100 on eBay, and used for about 50h for home yard maintenance.

I have owned three of these.

  1. The first was disposed of after 100h use. The chain sprocket was replaced (only slightly grooved), new clutch springs, new chain, bar dressed and it worked flawlessly. Early in its life, most of the fuel hoses and the primer bulb had to be replaced as they were sucking air… fatal to two strokes if left unfixed.
  2. This is the second, I purchased it as a spare for the first and when the first was sold, it was used for about 50h before a helper dropped it and cracked the oil tank… effectively making it a bucket of spares. No faults during its life. The engine was run in with three tanks of 25:1 mineral two stroke and zero Ethanol unleaded fuel. Then always run on Amsoil Sabre 50:1 with zero Ethanol unleaded fuel.
  3. When this saw was damaged, a new one of the same type was purchased and it now has 30h run time, no faults.

Here are some pics with a borescope of the engine internals, they are very telling of the engine condition. Before stripping it down, a crankcase vacuum and pressure test was conducted and a pressure test of the carburettor and fuel system… all good.

Looking in through the spark plug hole

Β 

Β 

Above, all pretty clean and a tribute to the Amsoil Sabre oil @ 1:50.

Looking in through the inlet port

The inlet side of the piston is clean and no sign of scoring. It is excellent given that this saw is used for short bursts and is not usually warmed up… so cold seizure is a risk.

Looking in through the exhaust port

The exhaust port on this engine exits at 90Β°, so it results in β€˜different’ views.

Above, the ring is free, so sign of adhesions or scrapes.

A little β€˜varnish’ in the port, no lumps of carbon, it is pretty clean.

Above, a little β€˜varnish’ on the piston side below the ring, no scoring.

Above, the bottom of the skirt is clean, no scoring.

Above, a view across to the other side of the bore.

Above, a closer view of the bore from the exhaust port, it is clean and no sign of scoring.

Evaluation

All three of these saws I have owned have been stunning value. The first suffered the common Chinese problem of low quality β€˜rubber’ parts, but once they were replaced it was good.

At an eighth of the price of a Stihl top handle saw, and parts readily available at low cost on Aliexpress, they are stunning value.

Last update: 17th June, 2024, 6:59 AM

Difficulty starting a GX200 clone

By: Owen
25 May 2024 at 06:52

I have a pressure washer with a 210cc Chonda GX200 clone that is very difficult to start. This article walks through the resolution.

Above is the equipment, it has less than 4h running time, so it is not β€˜run-in’ yet, these type of engines improve up to 20-50h.

Spark

Spark was tested using a PET-4000 spark tester, all good.

Valve lash

Valve lash can make these engines hard to start, particularly excess lash on the exhaust valve reduced effectiveness of the compression relief mechanism.

There is no reason to think it is low on compression.

Valve lash was checked, exhaust was 0.15mm and adjusted to 0.2mm, inlet was 0.1mm and adjusted to 0.15mm. So, whilst they were low, the exhaust would give more compression relief… and not likely to be the cause of difficulty in starting when cold.

Interestingly, whilst diagnosing the problem, the starter rope broke, frayed about half way along. It was replaced with some 4mm paracord which was on hand, and some 4mm starter rope ordered in case the paracord fails. I will put it down to Chinese Quality rather than a defect in the engine at this stage.

Ignition / Spark

Spark plug looks good

Spark was tested using a PET-4000 spark tester, all good.

Above is the β€˜secondary’ voltage of the ignition system at 3400RPM and moderately high load (being a pressure washer).

The spike is not fully captured due to relatively low sample rate in this hand held DSO, the burn time and shape in that area is of interest. The burn time follows the spike an in this case lasts for 1.2ms.

The calibration of the Y axis is not stunning accuracy given the capacitive probe, sometimes comparison with other cylinders on a multi-cylinder engine or another similar engine provides useful information.

Let’s look at another instance of a similar GX200 clone.

Above is the β€˜secondary’ voltage of the ignition system at 3400RPM and moderately low load (being a mulcher, spinning but otherwise unloaded).

The burn time is a little shorter at 1.1ms, probably a result of less fuel air mixture in the chamber.

So, there is nothing to indicate problems with ignition.

Mixture

The engine starts first go using starting fluid, and appears to run properly… so the problem seems to be that it normally needs a lot of pulls of the starter rope to get it to run.

First check was that the carburettor is secure, that there are not obvious sign of air leaks.

It was noted that when hot and adjusted to idle speed, speed increases a little with choking indicative of mixture being too lean, particularly from the pilot (idle) jet. The pilot jet was removed and a 0.35mm drill passed through it easily… I think I have already drilled this out to 0.4mm.

The main jet was inspected, it was #68 (equivalent to 0.027β€³) which is smaller than common (#70-#72). After a #81 substitution, the main jet was drill out from #68 to #77, and that greatly improved cold starting.

Altitude here is 700m, and although that is not very high, it is enough to make a difference to small engines and a small increase in fuel usually helps starting, performance and probably valve and valve guide life.

Last update: 27th May, 2024, 9:48 AM

A Tool for Dual Activators

By: WB3GCK
22 May 2024 at 11:09

I was first bitten by the parks bug, taking part in ARRL’s National Parks on the Air (NPOTA) program in 2016. When NPOTA ended, I started activating parks under the World Wide Flora & Fauna (WWFF) program. When Parks on the Air (POTA) came along, I started submitting my logs to both programsβ€”and still do.Β 

Since POTA and WWFF are separately administered, there are some significant differences between the two programs. One notable difference involves the park designators. In some cases the park numbers are the same, but often they’re different. For example, the designator for PA 246 State Game Land is KFF-5862 in WWFF and US-8941 in POTA. Sometimes a park will be in one program but not the other.Β 

Fortunately, Al Zelna N3KAE has provided an online tool that makes it easy for β€œdual activators” to cross-reference the WWFF and POTA park designators in the U.S. and Canada. Visit the CQ Parks.net website to check it out.Β 

Dual Parks North America

If you aren’t familiar with WWFF, it’s the original Amateur Radio parks program. In its current form, WWFF dates back to 2012, but it has roots going back to about 2008. While POTA has seen tremendous growth since its inception, WWFF is still very popular in Europe and other parts of the world. When band conditions are good, a spot on the WWFF site or a DX cluster will often generate a European pile-up. It sure is fun having a bunch of DX stations chasing my little QRP station.

Have fun out in the parks, however you activate!

73 & 44, Craig WB3GCK

Holzforma / Farmertec G372XT chainsaw – early evaluation

By: Owen
22 May 2024 at 02:43

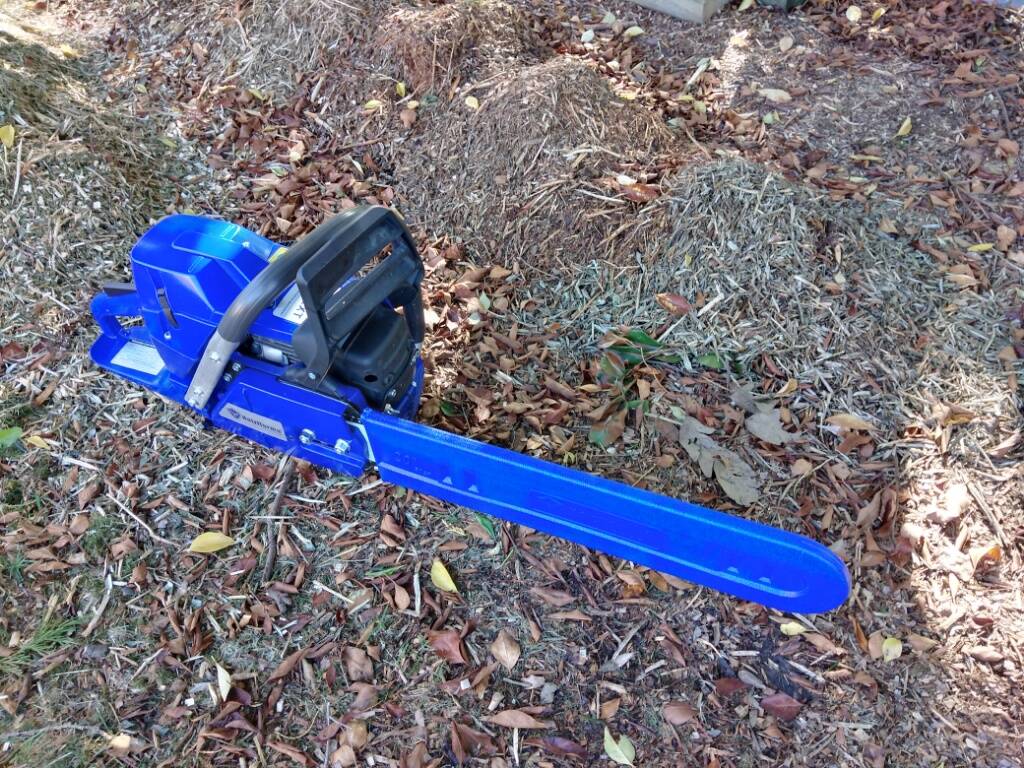
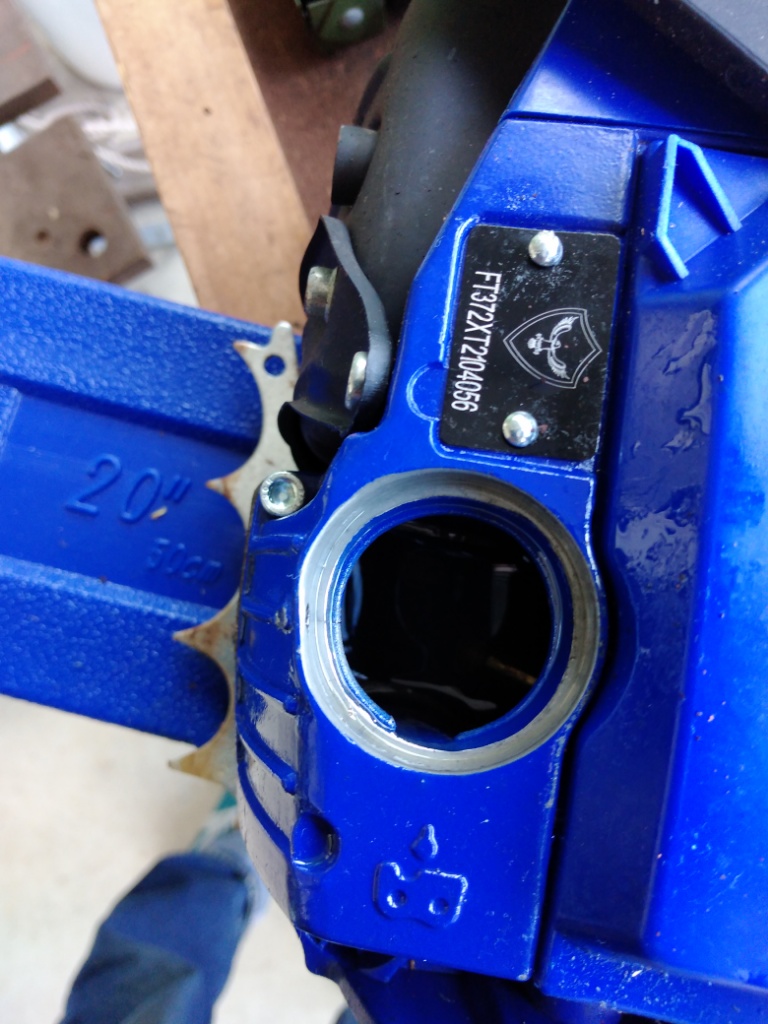
I purchased a Holzforma G372XT chainsaw, it is a Chinese clone of the now discontinued Husqvarna 372XP X-TORQ. It is a relatively new technology carburetted engine without introducing electronic auto tune, a 20 year old design.

There are plenty of online discussions about the 372XP X-TORQ overheating, hot seizures, and pics of blued big ends, scored pistons and bores etc, so whilst the design achieves quite high power output for 71cc, one is warned to pay attention to mixture, fuel quality, and lubrication. This might be an engine that should not be used with other than full synthetic two stroke oil.

This article outlines out-of-the-box issues with the saw, basically all Chinese quality issues.

Problems

Recoil starter does not work properly

The cord would not reliably rewind into the starter. It turned out that this was not a matter of spring tension, but rather that the plastic spool jammed on its axle. A little reshaping, a thin smear of grease on the axle, resetting the tension and checking that the cord runs out before the spring solved the problem.

Would not start

Out of the box, it would not start.

Spark checked out fine (PET4000EC), lot of resistance to the pull cord, so it appeared to have adequate compression, so that left fuel as the issue.

I could not start it on 25:1, I eventually got it to start on 50:1 Amsoil Sabre but only after removing the spark plug several times and blowing the chamber out with compressed air, cleaning the plug in fuel and blowing it dry.

Now two strokes respond to a specific starting procedure, but this did not and it was flooding… probably due to the choke actuator coming off sometimes.

Proper functioning of the choke control is vital to starting of two strokes.

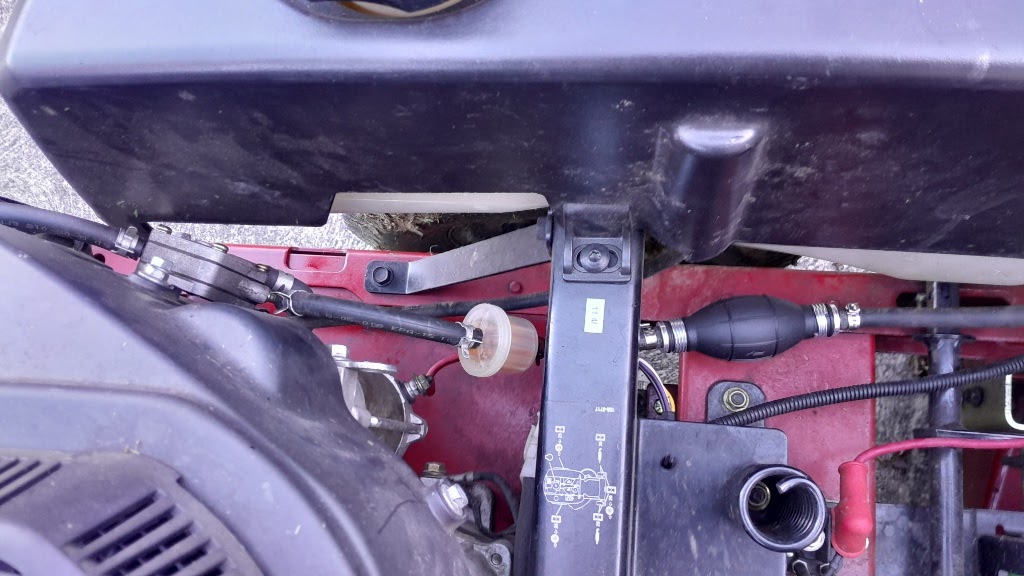
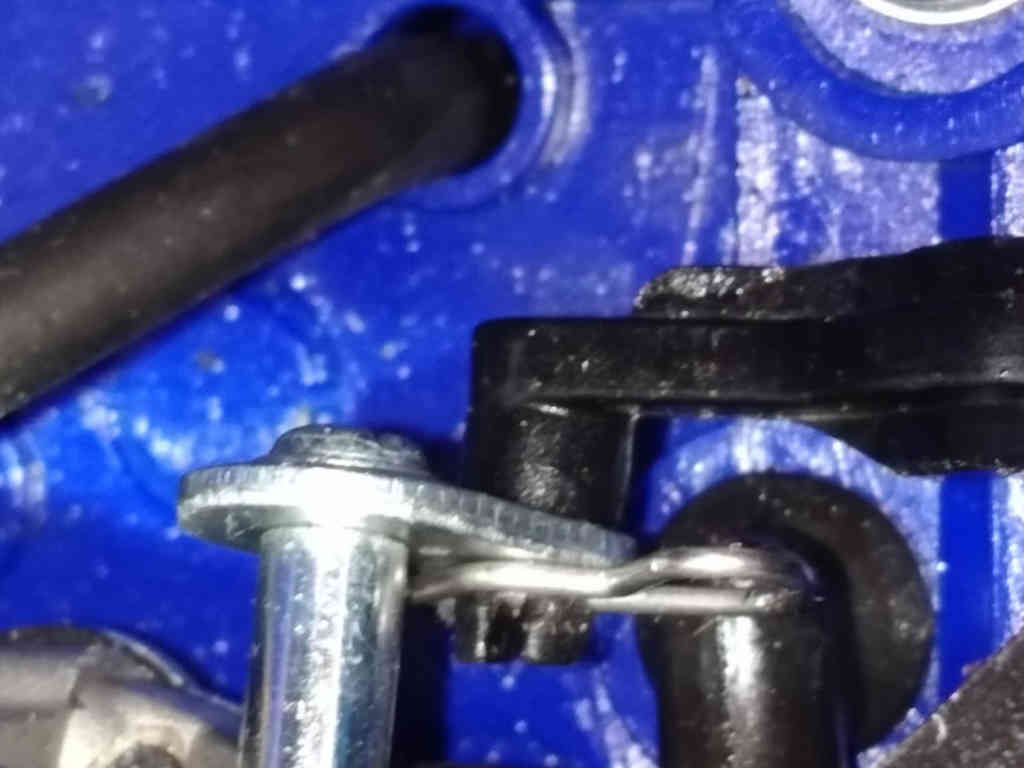
Choke actuator falls off the carburettor lever

The plastic choke actuator snap fits falls to the lever on the carburettor, it was not securely retained on the choke lever and fell off far too easily.

This leads for flooding when the choke is not turned off when the actuator is pushed in.

Above, the black plastic choke actuator was modified by drilling a 1.1mm hole and a 1mm 304 R-clip inserted to positively retain the actuator in the lever. The R-clip has to be of size and orientation that it does not interfere with other parts, eg the fuel tank hose grommet seen in this pic. The R clip can also be inserted from the front, but it needs the straight side down in both cases. A small cotter pin or bent wire are other options.

This might be regarded as a (Husqvarna) design issue, but in fairness, it is probably a matter of the quality of the plastic actuator, and the proper formation of the retaining β€˜ears’, and it does appear it is the choke lever from an earlier model with different carburettor.

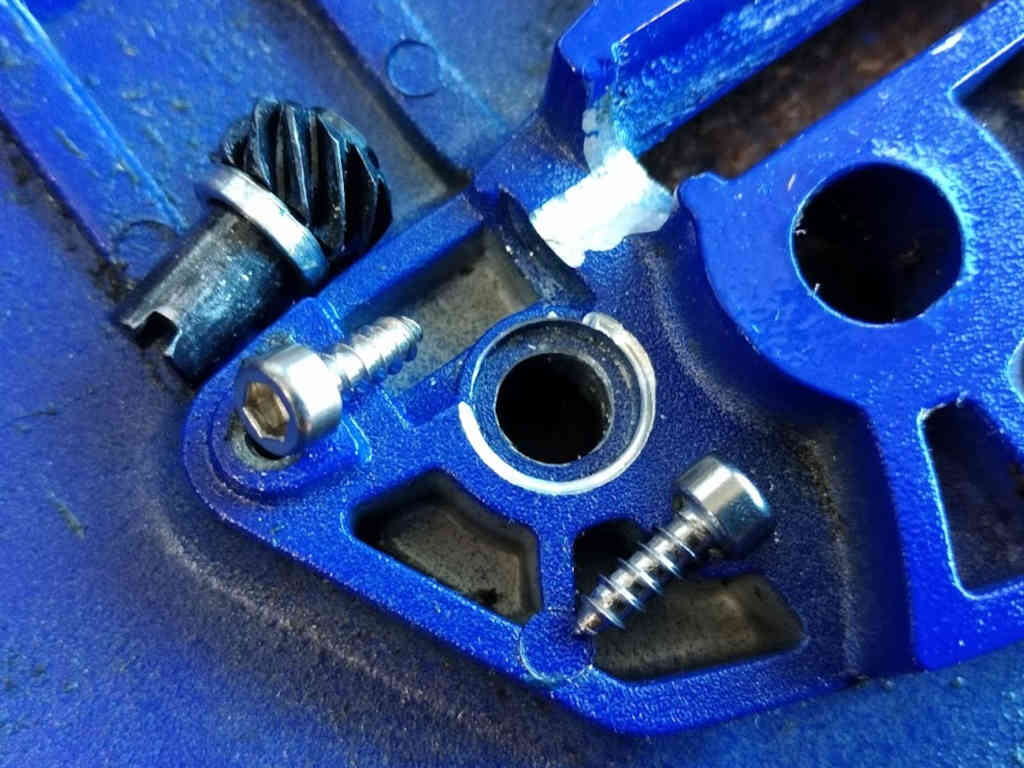
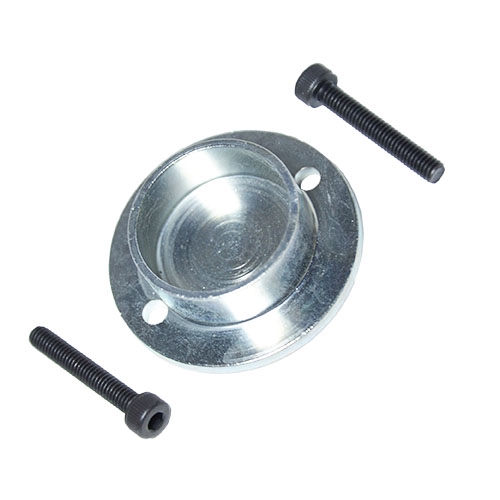
Chain tensioner binds

The chain tensioner binds at even modest chain tension. Side adjusting tensioners are convenient, but are commonly poor compared to the simpler front adjusting tensioners, but this one was really bad. On examination there were two causes:

  1. the aluminium casting did not have clearance for the end threads of the long threaded rod;
  2. the pinion would bind against the aluminium casting when tightening the tension screw; and
  3. tensioner cover screw sheared.

The first problem was fixed by relieving the casting with a carbide burr.

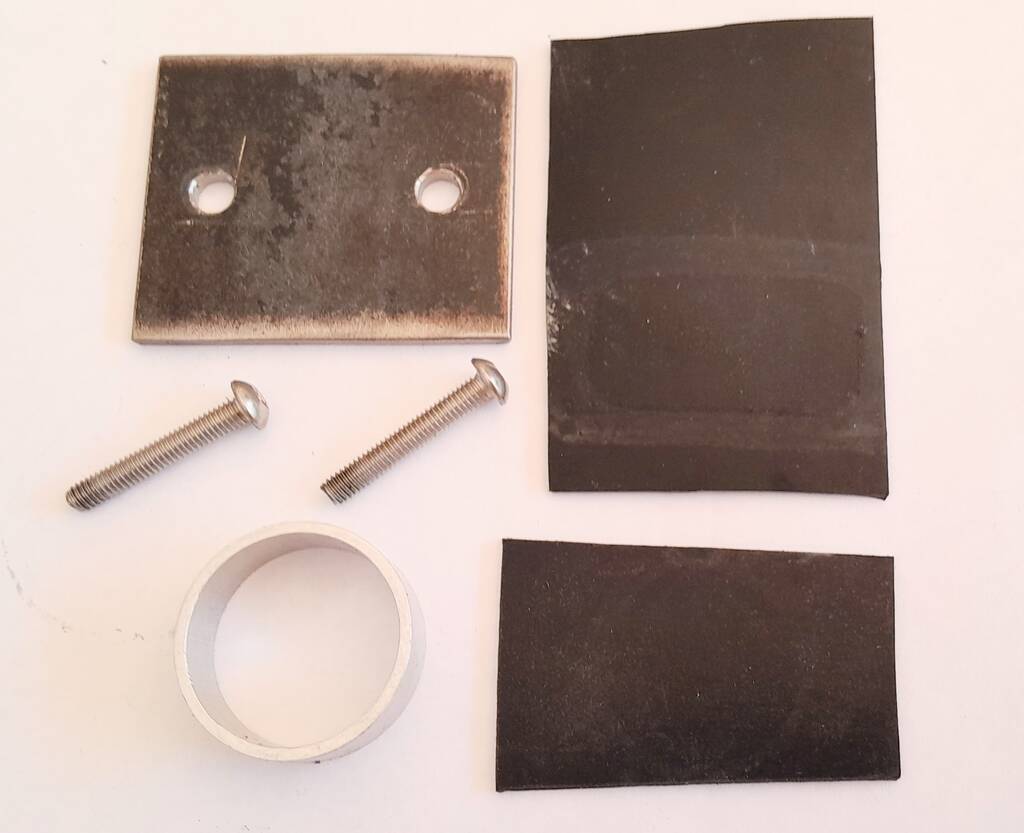
The second problem was solved by turning up a 12x8x2 aluminium bush to space the pinion from the casing, and discarding the existing washer and o-ring. A new Chinese no-name tensioner was fitted, although its pinion was a different length to the Holzforma one, it had the same issue with the o-ring and worked well with the new aluminium bush mentioned above.

In the process, one of the screw heads sheared off on the first attempt was made to remove the tensioner, so both screws were replaced (M3.5Γ—10 ST hex head) seen in the pic below.

The pic shows the casing relieved to allow for the thread on the tensioner so that it does not bind, and the modified pinion assembly with aluminium spacer in lieu of the o-ring and thin washer. The pic shows where the original pinion scraped against the caser making the adjuster near impossible to adjust.

Chain catcher

The chain catcher fell off after less than an hour’s use. Fortunately the parts were found and reattached more securely. I should not be surprised if threadlock will be needed, being monitored right now.

Oil tank cap leaks

Above, the oil tank has been deformed and cracked by a severe blow near the edge of the cap, and the cap leaks. This did not happen in transit, it left the factory like this packed in a box. Repair of this is major, it means dismantling the saw completely and fitting a new half crankcase. This is Chinese Quality.

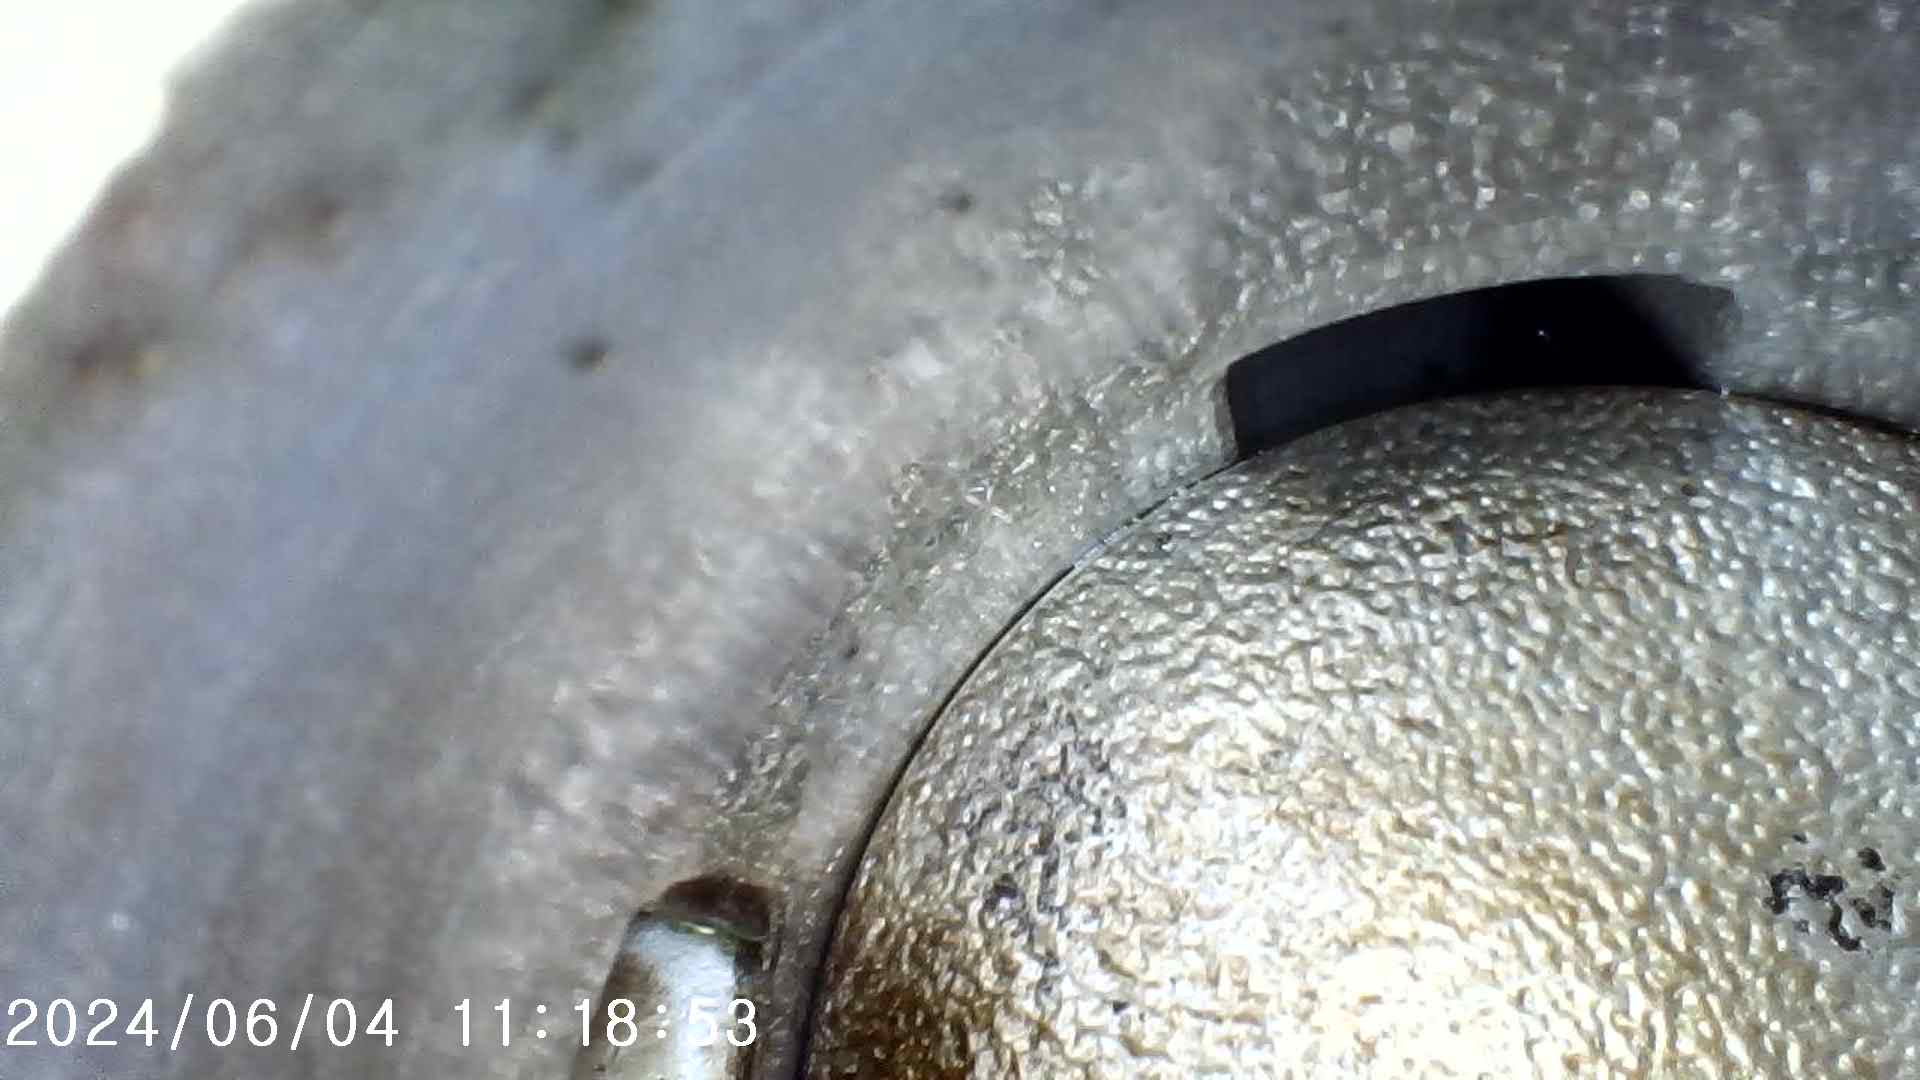
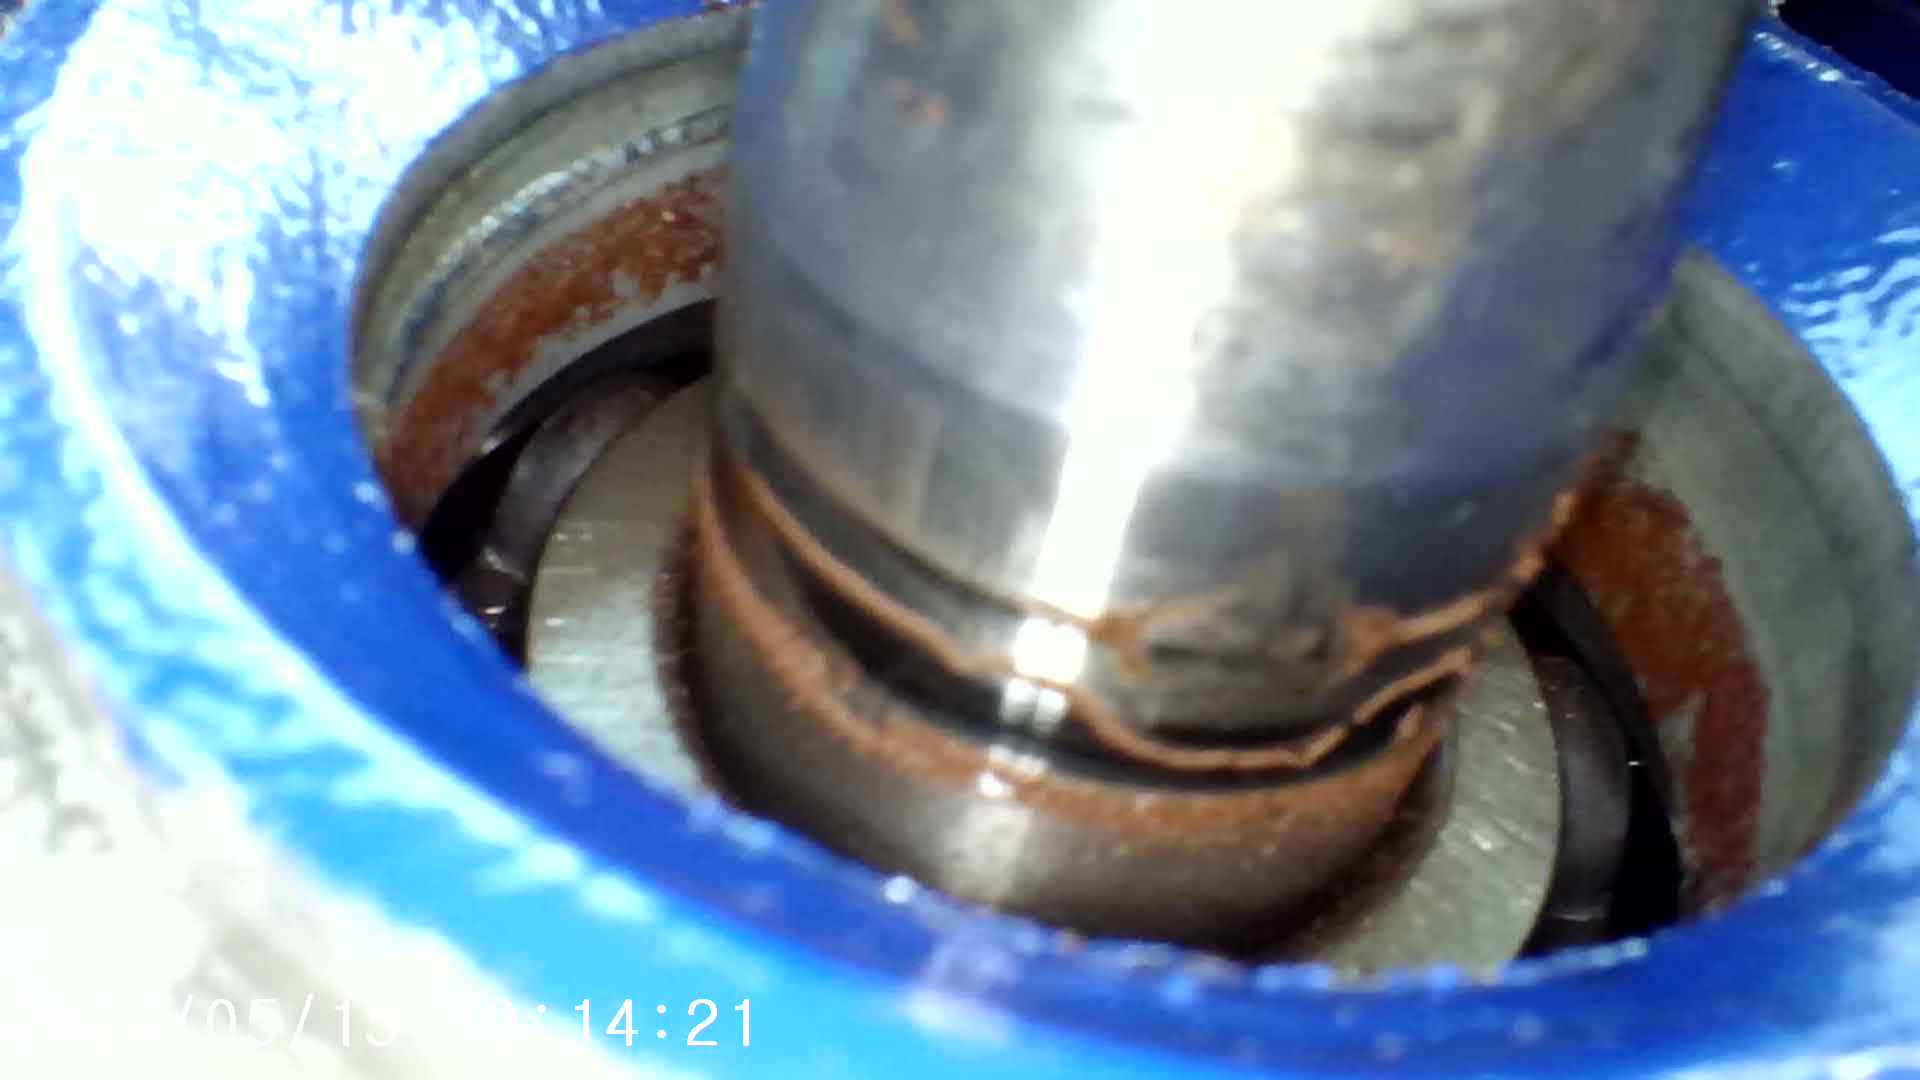
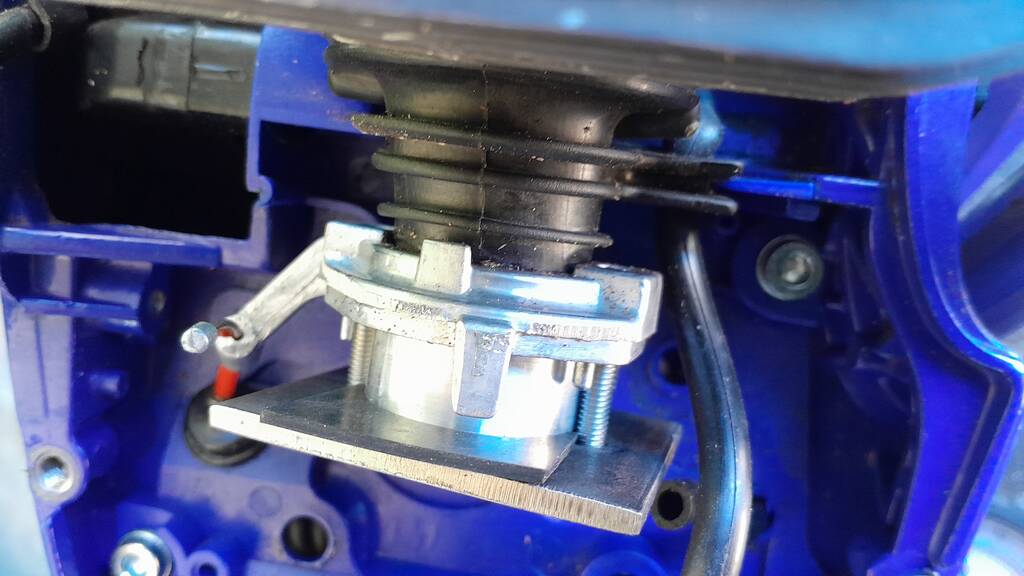
Crankcase seal air leak

It is impossible to set the L or H mixtures for stable RPM, the saw surges hinting a possible air leak which could lead to hot seizure.

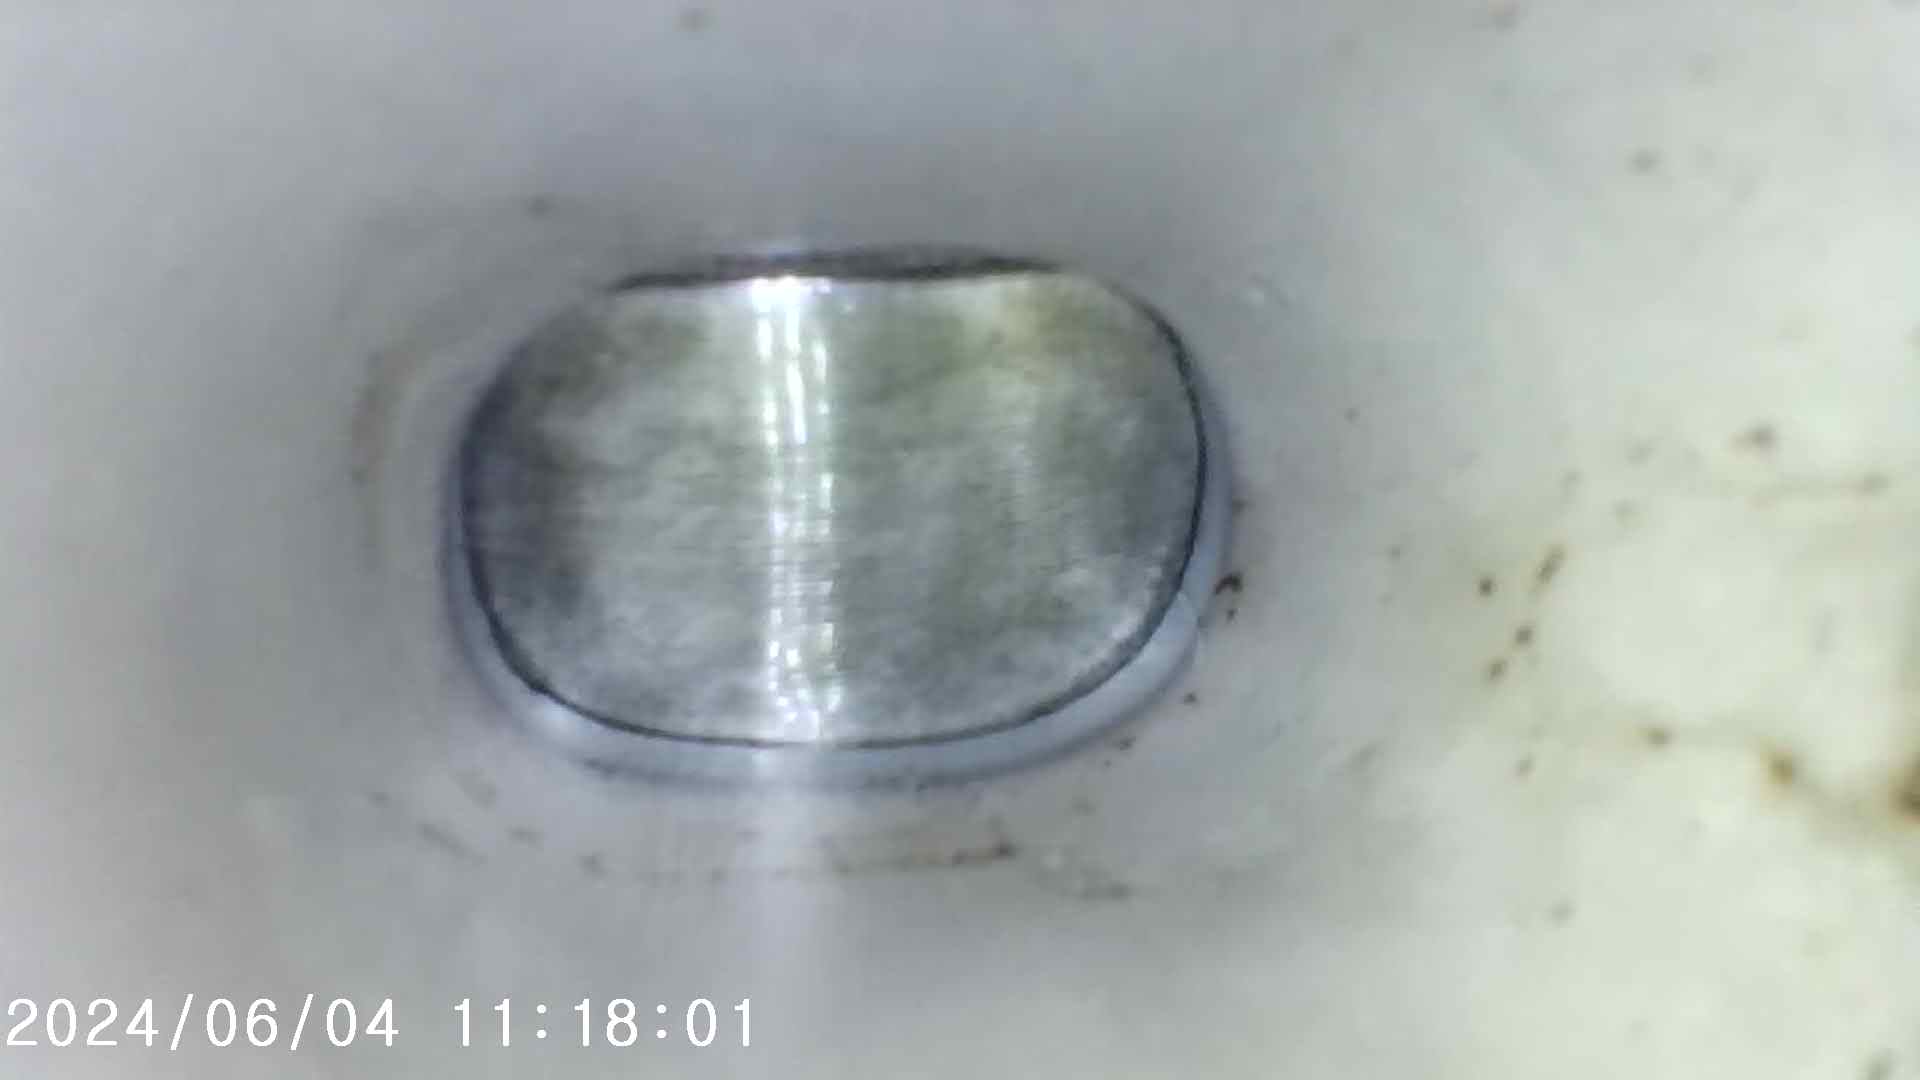
A pressure and vacuum test after 3h of run time revealed inability to hold vacuum of more than 20kPa. The exhaust side of the piston was inspected through the exhaust port, and the exhaust side of the cylinder wall was inspected with a borescope through the spark plug hole, both were in as new condition so no significant damage from running lean due to the air leak.

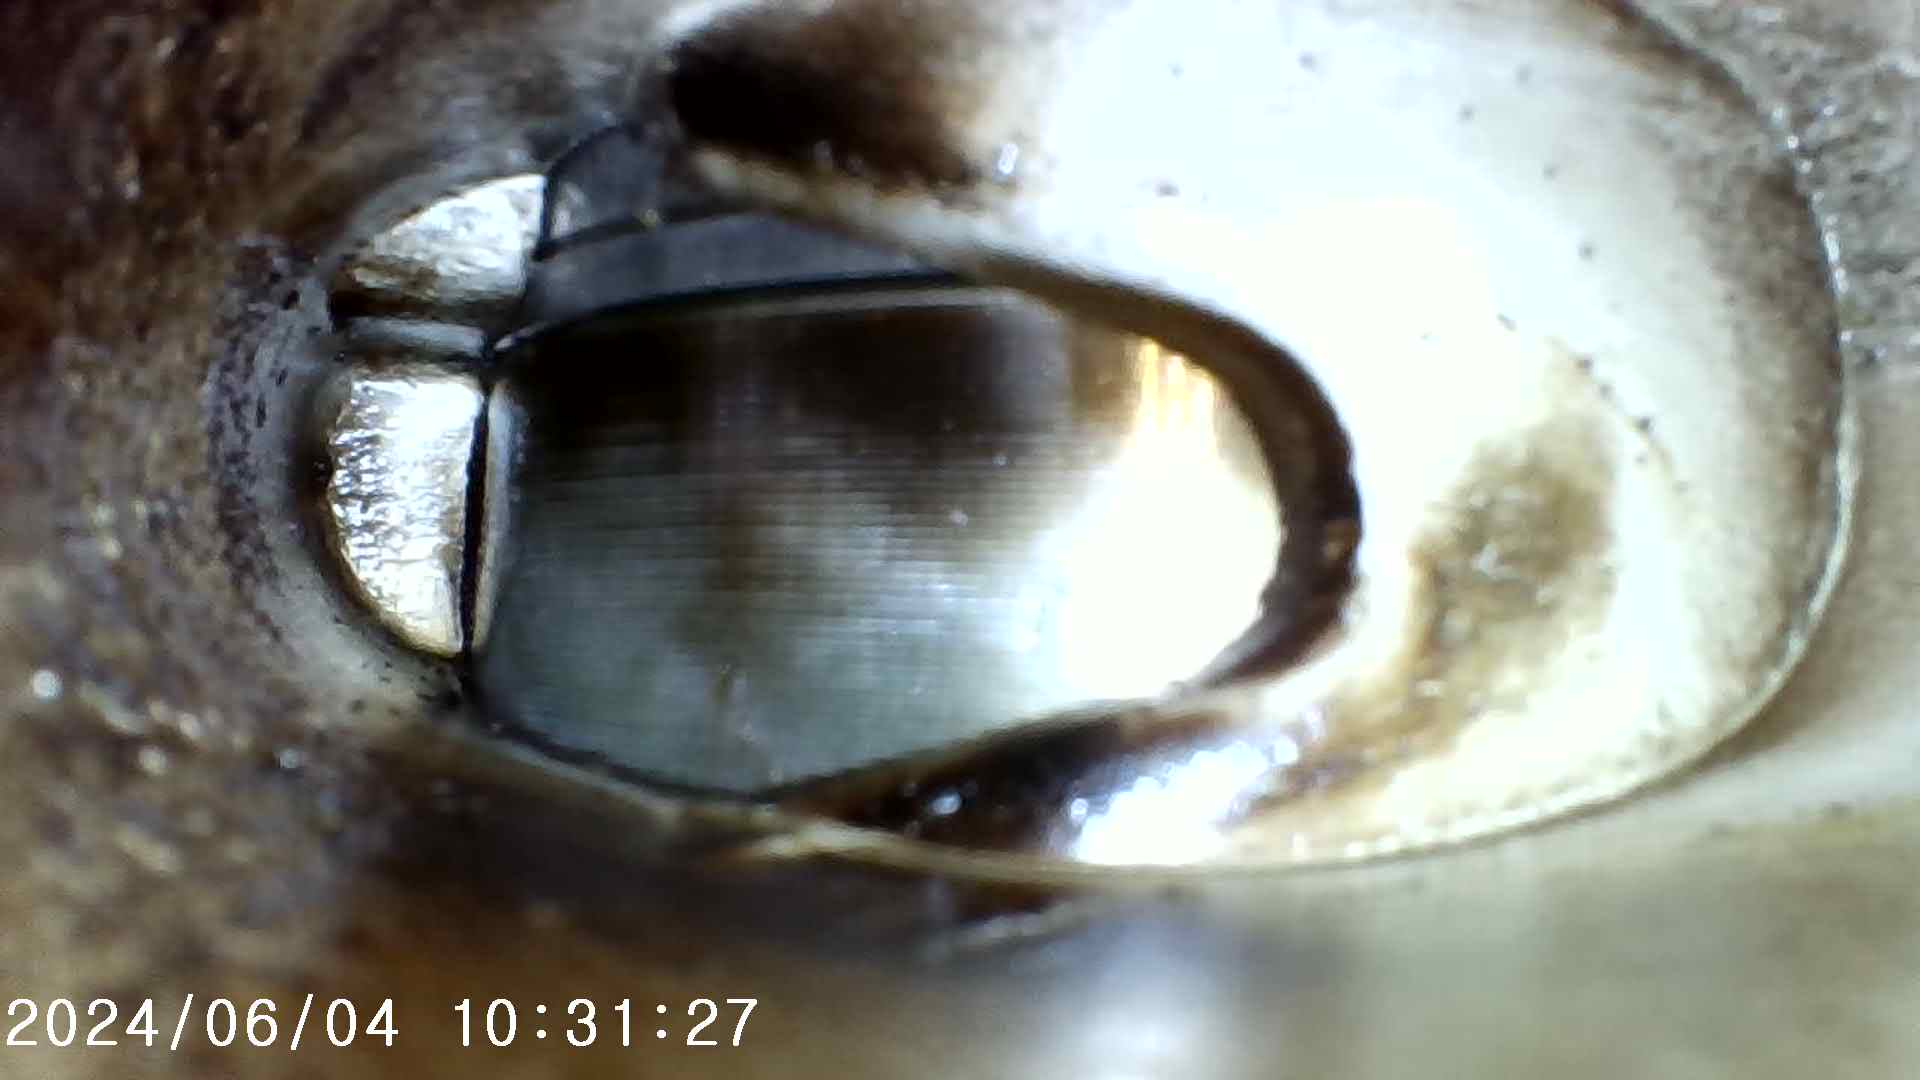
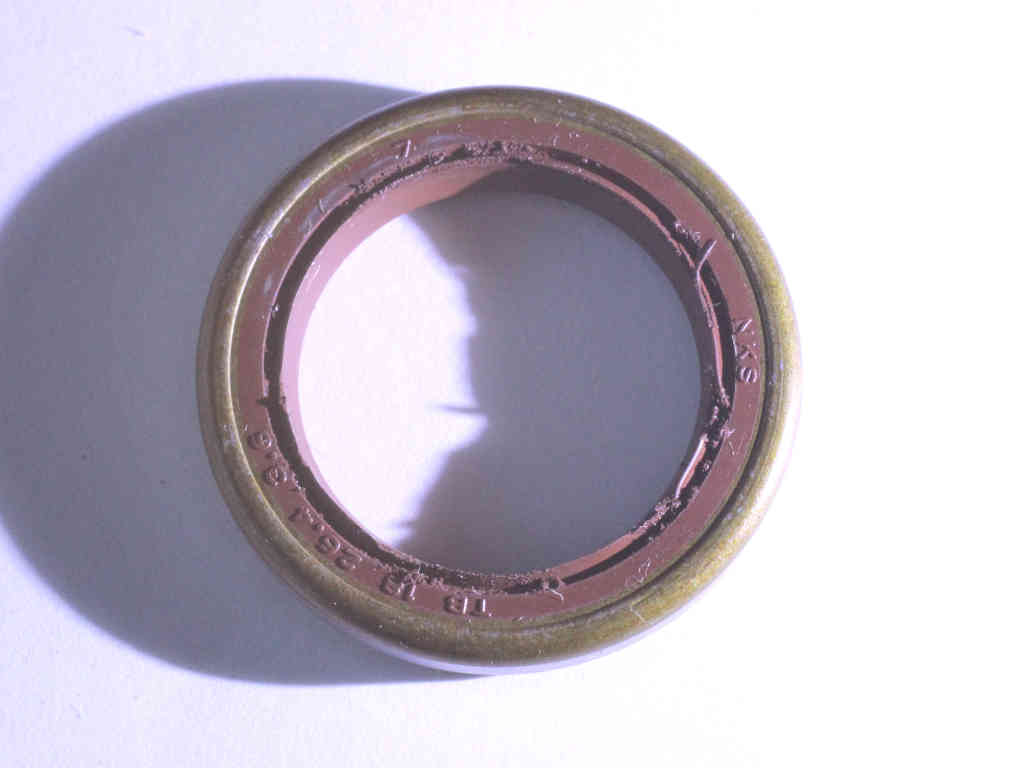
Above is the PTO side crankshaft seal with just a few hours of use. The brown colour hints a Viton seal, but it is Chinese so you cannot trust conventional practice. The seal is quite chewed out. The oring between the shaft bushing and bearing was missing.

The flywheel side seal was poor, but not as poor as the PTO side seal.

Above is a pic of the crankshaft on the flywheel side after the seal was removed. Observed shredded brown material from the oil seal, and blackening of the crankshaft from carbonisation of seal and or lubricant (if there was any). The shaft was cleaned and polished with fine wet and dry to remove the carbonisation, silver coloured steel beneath it, no blueing. The PTO side shaft was quite similar.

New Husqvarna seals and oring were fitted (made in India), the seals lubricated with high temperature wheel bearing grease, and care taken to not invert the outer lip on the PTO side seal.

After 15min of run time, a pressure and vacuum test was conducted, and it held +50 and -50kPa fine.

During tuning adjustments it was found the throttle butterfly was not closing against the idle screw. Whilst the carburettor was out, the butterfly screw was loosened, recentred and tightened and that resolve the problem.

On a side note, the crankshaft bearings use metal carriers, not the nylon ones that appear on some modern chainsaws and which lead to catastrophic failures when they collapse.

Other modifications

Spark plug thread

It seems from online discussions that Holzforma spark plug threads can be a problem, so the spark plug hole was helicoiled as preventative maintenance.

Rings

It seems Holzforma piston rings can be a problem, so the first time the top end is disassembled, the rings will be replaced with Husqvarna rings. Holzforma top ends do not have a good reputation, it would probably be wiser just to fit a Meteor or other quality top end.

Lessons learned

Lots of small problems, though the air leak could quite quickly cause a hot seizure which would probably write the saw off.

I do have another Holzforma saw, a 395XP. This experience would prompt a pressure and vacuum test, but with suspicion that the seals may not be of good quality or properly install, the sensible things is to jump in and replace the seals, then pressure and vacuum test.

Last update: 23rd May, 2024, 5:15 AM

Drive-on Antenna Mount Article

By: WB3GCK
12 May 2024 at 18:54
Drive-on Antenna Mast Mount

Back in December, Becky Schoenfeld W1BXY, Editorial Director for ARRL’s On the Air magazine, asked me if I would be interested in writing a detailed set of step-by-step instructions for my Drive-on Portable Antenna Support. Naturally, I said I would.

I submitted my manuscript, along with an all-new set of pictures. The article was published in the current issue (May/June 2024) of On the Air (pages 20-22).

If you’re interested, have a look. ARRL members have access On the Air as part of their membership.

73, Craig WB3GCK

An improvised intake block off adapter for the Husqvarna 372 XP X-TORQ etc

By: Owen
23 April 2024 at 02:13

A really important test of two stroke engines is the crankcase vacuum and pressure test, as air leaks through crankshaft seals, intake boot, cylinder gasket, decompression valve, impulse tubes etc can cause them to run lean leading to premature failure of the engine.

To perform a vacuum and pressure test of the Husqvarna 372 XP X-TORQ chainsaw engine, the intake needs to be blocked off, and the exhaust blocked off, and the test can be performed using the impulse hose.

The intake boot in the Husqvarna 372 XP X-TORQ has a rubber tongue that projects into slots in the carburettor throat, part of the strato engine.

Above, Husqvarna 578-09-56-01 intake block off adapter for the Husqvarna 372 XP X-TORQ. The open end of the β€˜tube’ mates with the rubber intake boot, and the recess accommodates the tongue mentioned.

These have been proven impossible to buy in Australia, I have wasted so much time with local Husqvarna and their dealers… enough I would be dissuaded from buying another Husqvarna (I have a genuine 120 MkII). One dealer suggested this might be an β€œauthorised dealer only” product. Whilst online shops elsewhere advertise the tool, I have not found one that ships to Australia (at a reasonable price).

So, to improvise.

I intended turning one out of a piece of 40mm aluminium round,,, but elected for an easier way, even if the tool was a little less convenient to use.

Above, the DIY adapter set. The piece of tube is about 12mm length cut from a short piece of 28mm OD, 25mm ID 6063 tube purchased on Aliexpress. The steel plate was cut of some scrap and drilled to suit. A couple of M4x25mm screws and some pieces of 2mm Nitrile Rubber for sealing intake and exhaust complete the set.

Above, the improvised intake block off.

Above, another view of the adapter set.

It is a bit fiddling to set the tube and rubber in place, I expect the OEM tool is more convenient. It occurred to me later that to put a fairly tight elastic band around the screws and tube might hold them aligned and make the fitting job easier.

The vacuum and pressure test is performed using the impulse line (the rubber tube to the right of the adapter. The adapter worked fine and it confirmed suspicion of a shaft seal leak.

Note this is a non-electronic (other than breakerless ignition), non-autotune carburetted engine, albeit with stratified intake.

The beauty (not) of modern engines is that they will automatically compensate for air leaks, up to a point, well more than air leaks, blocked air filters etc. The end user does not have the warning signs of problems like unstable mixture settings, mixture needles way out (except models complying with anti pollution laws that prohibit adjustable mixture).

Last update: 8th May, 2024, 8:26 AM
❌
❌