❌

Normal view

There are new articles available, click to refresh the page.
Before yesterdayMain stream

Amateur radio videos: Extreme toroid winding, CW bandwidth, KB6NU on LICW

By: Dan KB6NU
6 April 2024 at 13:42

Need to wind some toroids?

While I’m waiting for my QRPLabs’ QMX kit to arrive, I thought I’d try to learn something about toroid winding. This video takes toroid winding to a whole new level.

W2AEW on CW bandwidth

Question T8A11, in the Technician Class question pool asks, β€œWhat is the approximate bandwidth required to transmit a CW signal?” The correct answer is 150 Hz. The question says β€œapproximate” because the bandwidth depends on the speed at which the Morse Code is being sent.

In this video, Alan, W2AEW, actually makes some measurements to determine the bandwidth of a CW signal.

KB6NU on LICW

A couple of weeks ago, Bob, K4LRC, Β asked me to speak to the LICW Portable Ops group about getting better at CW. I guess they ran out of qualified speakers. I don’t know if the group learned anything, but it was fun to speak to the group. TL;DR getting on the air and making contacts is the best way to improve your CW.

Debouncing switches can be a challenge

By: Dan KB6NU
29 March 2024 at 15:31
A photo of the PicoMite Keyer board.
The PicoMite Keyer hardware has five pushbuttons and uses two I/O pins for the dit and dah paddle contacts.

One of the challenges that I faced when I started my Micropython keyer project was debouncing the switch closures. There are seven in all: five pushbuttons and the dit and dah inputs.

So, I did what everybody does nowadaysβ€”perform an internet search. I searched for β€œswitch debouncing with Micropython” and got about a zillion references.

One of the first references is actually part of the Micropython documentation. The documentation suggests that one read the current value of a given pin, wait for the value to change, and then verify that the new value is stable for at least 20 ms. They give the following example code:

import pyb
def wait_pin_change(pin):
    # wait for pin to change value
    # it needs to be stable for a continuous 20ms
    cur_value = pin.value()
    active = 0
    while active < 20:
        if pin.value() != cur_value:
            active += 1
        else:
            active = 0
        pyb.delay(1)

And, here’s how you would use this function:

import pyb
pin_x1 = pyb.Pin('X1', pyb.Pin.IN, pyb.Pin.PULL_DOWN)
while True:
    wait_pin_change(pin_x1)
    pyb.LED(4).toggle()

pyb, by the way, is a library of functions that support the PyBoard, a small microcontroller board that was designed specifically to run MicroPython. Pin is one of the classes in the pyb library that provides I/O pin functions.

More stuff from the internet

This is a simple solution, and really too simple for my project. So, I kept looking and found a bunch more solutions:

  • Jack Ganssle, a long time embedded systems consultant, has published a couple of pages on debouncing on his blog, A Guide to Debouncing, or, How to Debounce a Contact in Two Easy Pages. Being a hardware guy, Ganssle gives a nice explanation of the problem before he goes on to show us his solution.
  • Hack-a-Day has also tackled this issue with two posts, Embed with Elliot: Debounce Your Noisy Buttons, Part I and Part II.

What I ended up using is the asyncio library that was developed for MicroPython. This allows a programmer to implement a form of multi-tasking called β€œcooperative multi-tasking,” which is widely used in embedded systems. It’s more complicated programming this wayβ€”you have to keep in mind all the various things that can be running at the same timeβ€”but there are definite advantages as well.

For example, I think when I get to the point of implementing accepting commands via the USB port, it will be easier to do this. Commands will be arriving asynchronously, after all.

Another advantage to using this library is that it has drivers for switches, pushbuttons, ADCs, and incremental encoders. The switch drivers, for example, include functions that detect both short and long presses. This is a feature that I’m using in this project.

Hardware solution

There is also hardware solutions to debouncing switches. These range from simply soldering a capacitor across the switch to connecting the switch to a Schmitt trigger. Β For more information on these solutions, and how to make the tradeoff between hardware and software solutions, see Ultimate Guide to Switch Debounce by Max Maxfield.

Random stuff: Circuit debugging tips, choke cookbook, Bluetooth observation

By: Dan KB6NU
24 March 2024 at 23:04

8 Tips for Debugging Electronic Circuits

Technician probing an electronic circuitJameco’s eight tips for debugging circuits include:

  1. Understand the circuit.
  2. Do a visual inspection.
  3. Use the right tools.
  4. Check power supply and ground connections.
  5. Consider signal tracing and analysis.
  6. Conduct incremental testing and isolation.
  7. Learn from documentation and community resources
  8. Develop a methodical approach

For a more complete description, visit the Jameco website. My advice would include a combination of #2 and #4. After doing a visual inspection, the first thing I do is to check all the cables and connectors. It’s been my experience that bad cables and connections account for approximately 80% of electronics problems.


Toroid core wound with RG-179 coax
An RG-179 choke.

A New Choke Cookbook for the 160–10M Bands
Using Fair-Rite #31 2.4-in o.d. (2631803802) and 4-in o.d. (2631814002) Toroids

This article by K9YC is chock-full of information about RF chokes for HF antenna systems, including circuit theory and practical construction techniques. The introduction reads:

Common mode chokes are added as series elements to a transmission line to kill common mode current. The line may be a short one carrying audio or control signals between a computer and a radio, video between a computer and a monitor, noisy power wiring, or feedlines for antennas. This application note focuses on the use of chokes on the feedlines of high power transmitting antennas to suppress received noise, to minimize RF in the shack (and a neighbor’s living room) and to minimize crosstalk between stations in multi-transmitter environments.


Bluetooth multi-path distortion

I’ve started using a set of Bluetooth ear pods to listen to podcasts on my Android phone when walking around town. (I do a lot of walking.) I’ve noticed that when I’m walking around downtown, sometimes the sound will go out in one or both ear pods.

At first, I thought that might be because my hand or my body was shielding the Bluetooth signal when my phone was in my pocket. Thinking more about it, though, I’ve decided that I’m losing the signal due to reflections from buildings as I walk by them. It’s multipath distortion!

I should have realized this right off the bat, as I’ve been teaching this very thing in my one-day Tech classes for at least the last ten years.

Operating Notes: I’m twitch-y, bye-bye X-6100, bring on the toroids

By: Dan KB6NU
19 March 2024 at 19:10

I’m Twitch-y!

Last night, I worked Luis, EA1TG, and this morning, he sent me a link to a video on Twitch that he made of our contact. (Click on the image to go to Twitch. For some reason, I couldn’t embed the Twitch video here.)

This is kind of cool. I’ve been thinking of setting up my own Twitch channel to stream my contacts. I’m not sure if anyone would actually watch them, but who knows?

Bye-bye X-6100

Last summer, I purchased a Xiegu X-6100 from Radioddity when they put it on sale. I had a lot of fun using it. In some ways, it’s Β more fun to use than my Elecraft KX-3. I attribute that mainly to the brightly-colored waterfall display.

It’s just not the radio that the KX-3 is, however. For one thing, the KX-3’s antenna tuner is much better than the X-6100’s antenna tuner. The KX-3 tuner almost always achieves an SWR of 1.1:1 or less with my 66-ft. doublet antenna, while the Xiegu is satisfied once it hits 1.5:1. The color choices are also terrible, making it hard to read, especially in bright sunlight.

So, after making 36 contacts with it on my latest POTA activation, I sold the X-6100 last week. I hope that the new owner will have as much fun as did with it. And, find its shortcomings less annoying.

Bring on the toroids!

To replace the X-6100, I purchased a QRP Labs QMX kit. For less than $100, the QMX provides five band coverage (either 80m – 20m or 20m – 10m), CW and digital modes, an SDR receiver, a 24-bit 48 ksps USB sound card, CAT control, and synthesized VFO with TCXO reference. Since I’ll be using this for POTA, and propagation on the higher bands is headed in the right direction, I opted for the 20m – 10 version.

I also purchased the enclosure and power cord, so the price came to just short of $140, including shipping. Even so, that’s quite a deal, I think.

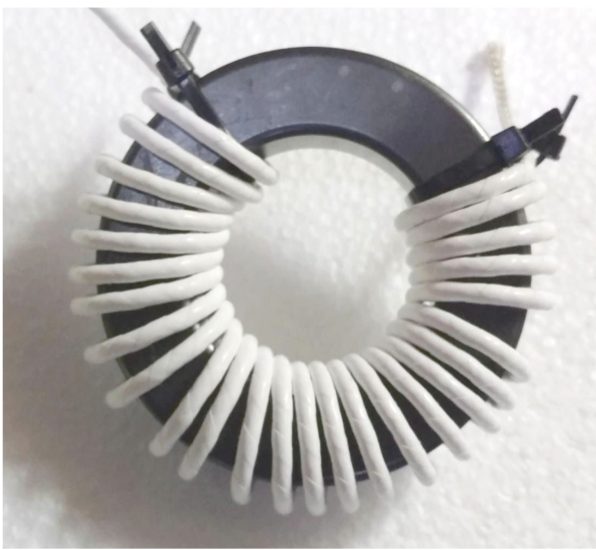
When I told my friends Rick and Paul about my purchase they jumped all over me about the toroids. One of them in particular has a trifilar winding and is supposed to be difficult to fabricate. I’m not a big fan of winding toroids, but I’m not scared of them either. Bring on the toroids!

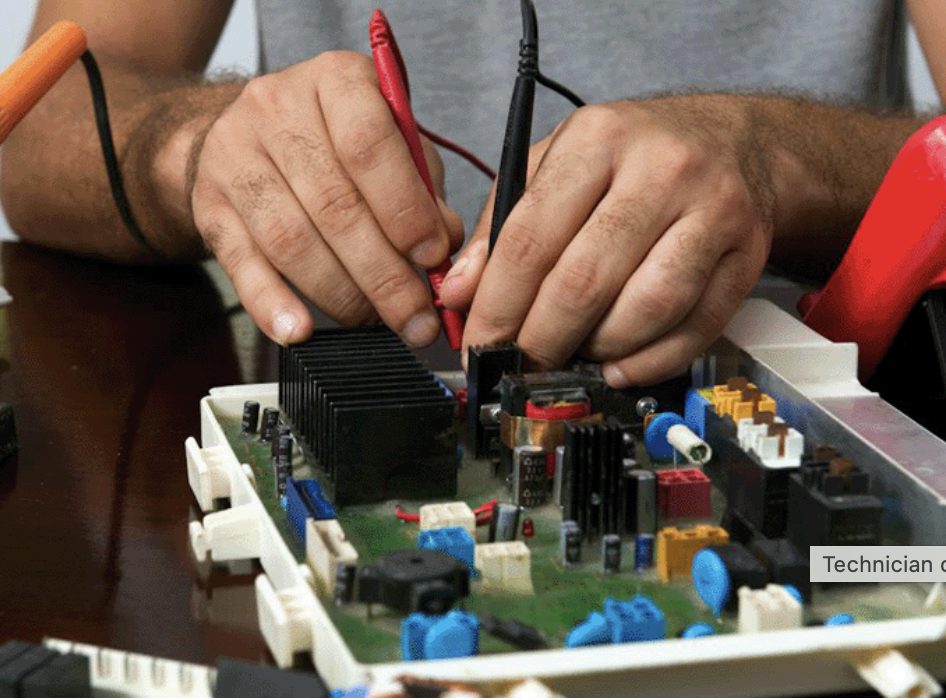
In the meantime, I’ve been watching this video:

After watching it, it seems to me that the biggest thing to watch out for is how crowded everything is inside the radio. For example, there are several warnings about how close some of the components and traces are to one another. Forewarned is forearmed, though, so at least I’ll know what to look out for.

Stay tuned for reports on how I get along with the kit. Who knows? Maybe I’ll live-stream my toroid-building on my YouTube or Twitch channel.

❌
❌