Share Soundcard between Direwolf and VARA on Linux
I wish I could make this one simple, but we are getting into complex territory. Please read the instructions and follow along carefully. This is not something I recommend doing without knowing your way around Linux, and so the basics are not covered(it would be too long). this should let you share the same soundcard between direwolf and other apps like VARA, and FLDigi as well. I ran into this when I wanted to have VARA and Dire wolf share a soundcard for my BPQ32 node on Linux. By default, Dire wolf takes complete control of the sound card interface, as well as VARA when ran within wine. There are several tweaks and changes needed to make this work, so buckle in. In this guide, I’ve used this post to install VARA within wine on Debian 12. I’ve used this post to install dire wolf.
Splitting the Interface
First, we need to grab your sound cards device name. Enter cat /proc/asound/cards to get a list of sound cards, pay attention to the “Device” or “Device_1” relating to your radios digital audio interface card. I my case, I needed both (one was used for 2m, the other for HF). Note the name somewhere, paying attention to the case as well.

Now, we need to open the “asound” configuration file (or make a new one if it doesn’t exist), and enter some information. First, check if one exists for your current user with : cat ~/.asound. If you get file does not exist, that’s fine. If you instead see file info, enter rm ~/.asound to get rid of it. The reason we did that was because the user configuration file overrides the global (which is the one we will now create/edit).
Enter sudo nano /etc/asound.conf to create/edit the existing global configuration. If your file is empty, awesome. If it contains content, remove everything.
What we will do now, is name our new split soundcard interface. In the following example, I’ve taken the soundcard listed as “Device” from above, and now named it “digirig” in this new interface, and split it into “digirig-rx” for the receive(audio in), and “digirig-tx” for the transmit (audio out)
We will now paste the following template:
Take care to replace the word “Device” with the name you found above (probably the same), and if you would like to rename the interface to something other than “digirig” like I have here, replace all instances of it with something lowercase and simple you will remember.
pcm_slave.digirig {
   pcm {
      type hw
      card Device
   }
   period_time 0
   buffer_size 8192
}

pcm.digirig-dmix {
   type dmix
   ipc_key 2023041901
   slave "digirig"
   bindings.0 0
}

pcm.digirig-dsnoop {
   type dsnoop
   ipc_key 2023041902
   slave "digirig"
   bindings.0 0
}

pcm.digirig-rx {
   type plug
   slave.pcm "digirig-dsnoop"
   hint.description "digirig RX audio plug"
}

pcm.digirig-tx {
   type plug
   slave.pcm "digirig-dmix"
   hint.description "digirig TX audio plug"
}
If you have 2 sound card interfaces, such as I do, you will just paste the above twice, one after the other. You will need to rename all instances of “digirig” (or whatever you called the first one) to something else (to refer to the second card). You will also need to replace “Device” once more with the name of the second sound card (probably “Device_1”).
Great, save that file. Issue the following command to have the changes take effect.
sudo alsa force-reloadIf you get command not found, you’re better off rebooting before continuing.
Now, we will now make sure we’ve done this part right. Open up your direrwolf configuration file (probably nano ~/direwolf.conf) and find the “ADEVICE” line and remove it.
Replace it with the following. (Obviously replacing “digirig” if you’ve renamed it in the asound file we made/edited above.
ADEVICE digirighf-rx digirighf-txSave the file, and restart Dire wolf. Dire wolf should start fine, and your audio device should be working as it did before. If not, stop here, somethings wrong.
Getting VARA to use the Split interface
Now that dire wolf is using our split interface, we now need to get VARA on board, which is a little more involved.
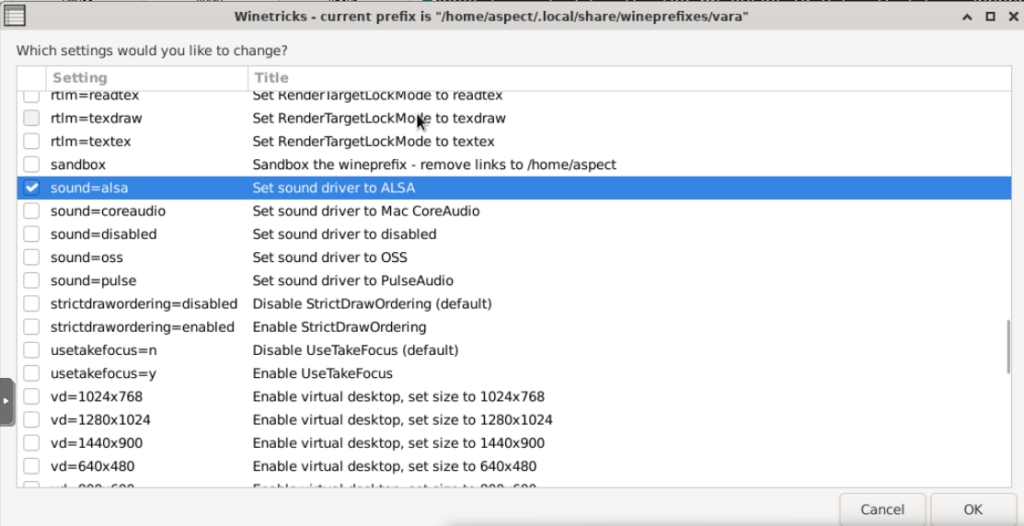
First, we need to get your wine prefix to be configured using ALSA. If using VARA in the default prefix, this could be as simple as running “winetricks sound=alsa“. Give it a try, as it won’t hurt either way. Otherwise, you will run the following command, replacing “.wine32” with the wine prefix you’ve made for VARA.
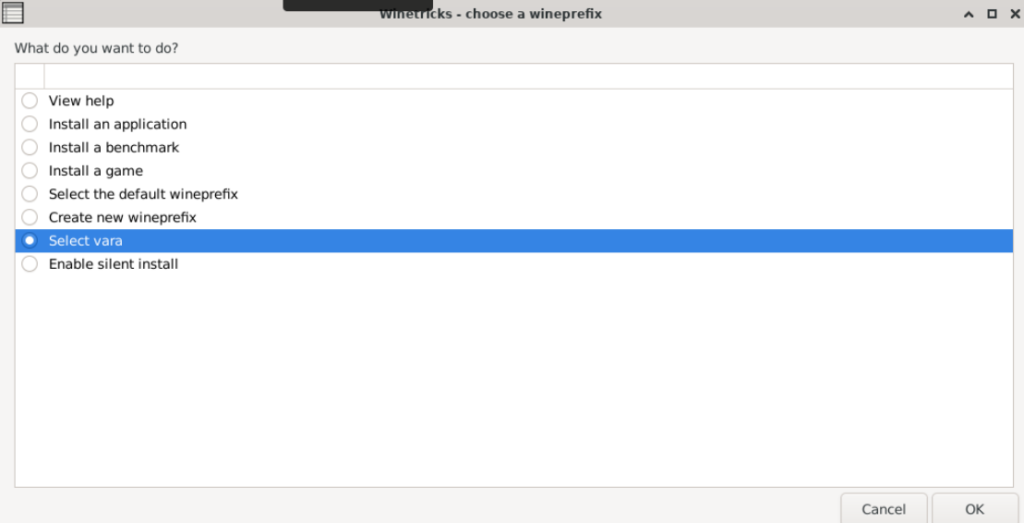
env WINEARCH="win32" env WINEPREFIX="/home/aspect/.win32" winecfgAnother way you can try to achieve this is by running “winetricks” within desktop mode, selecting the prefix where VARA is installed, choosing “Change Settings”, finding “sound=alsa” and pressing “Ok”
Next we need to set some registry keys on the Wine prefix to identify our split interfaces. Similar to the above, we will enter the following command to open the registry editor for the VARA prefix:
env WINEARCH="win32" env WINEPREFIX="/home/aspect/.win32" regeditYou can also reach the Registry editor using the “winetricks” command, selecting the prefix, and opening the regedit from there.
You will navigate to the following key and leave it it open:
HKCU->Software->Wine->Drivers->winealsa.drv
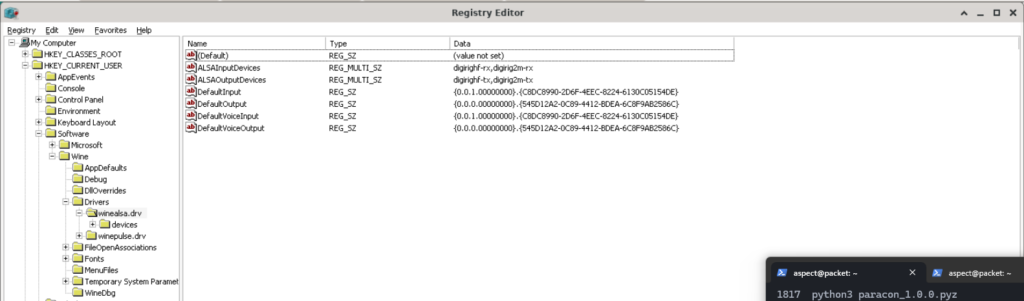
Just as in the above screenshot, you will right click the empty space, and select new -> multi-string value.
Create one key called “ALSAInputDevices” and another called “ALSAOutputDevices”. In each of them, for the value, make a list of the relative -rx or -tx devices we made before in the asound file. (If you only have 1 sound card interface to use, you only need the one here). (-rx being in the Input devices, and -tx being in the Output.)
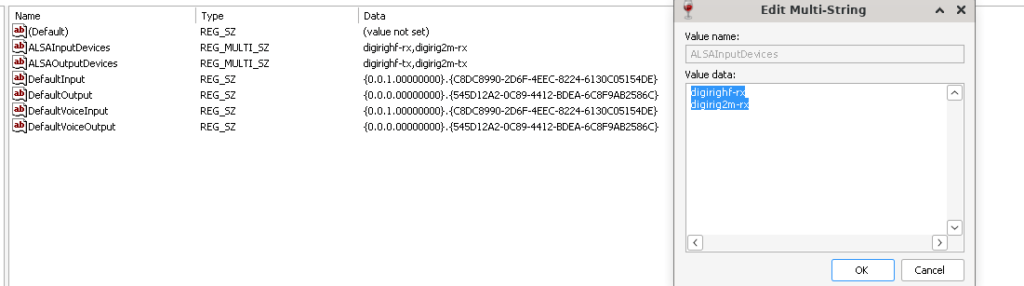
Save, and close it all out.
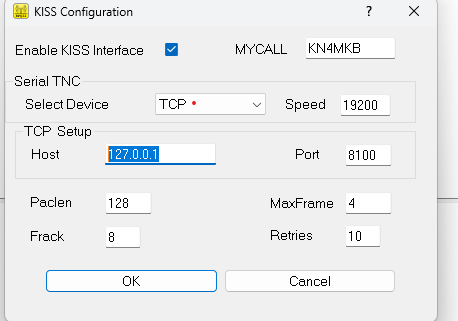
Starting VARA
Now start VARA as you normally do in WINE. In the soundcard settings, now chose the interface we specified in the registry relating to the one we created in the asound configuration file.
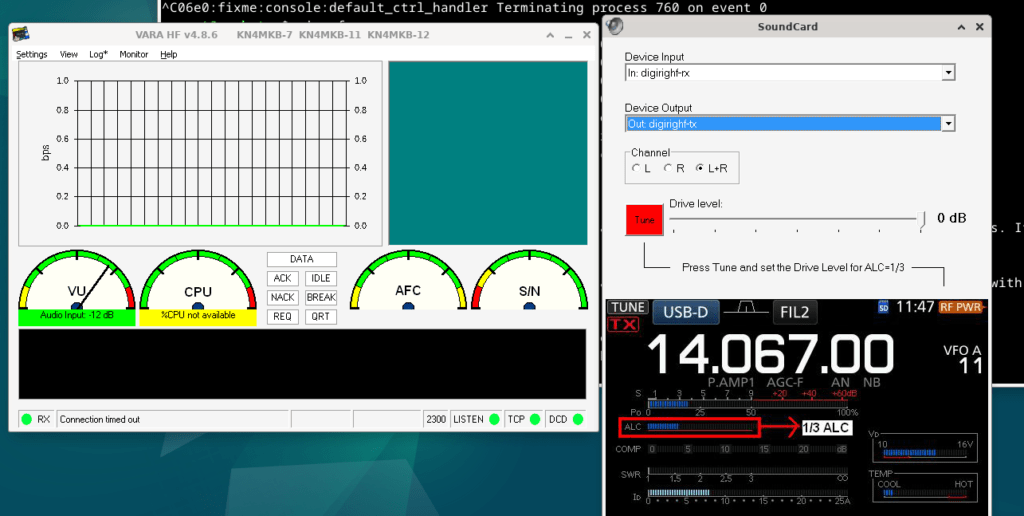
Direwolf and VARA should now be able to share the sound interface this way!
The post Share Soundcard between Direwolf and VARA on Linux appeared first on TheModernHam.