2023 Winter Solstice
22 December 2023 at 22:07
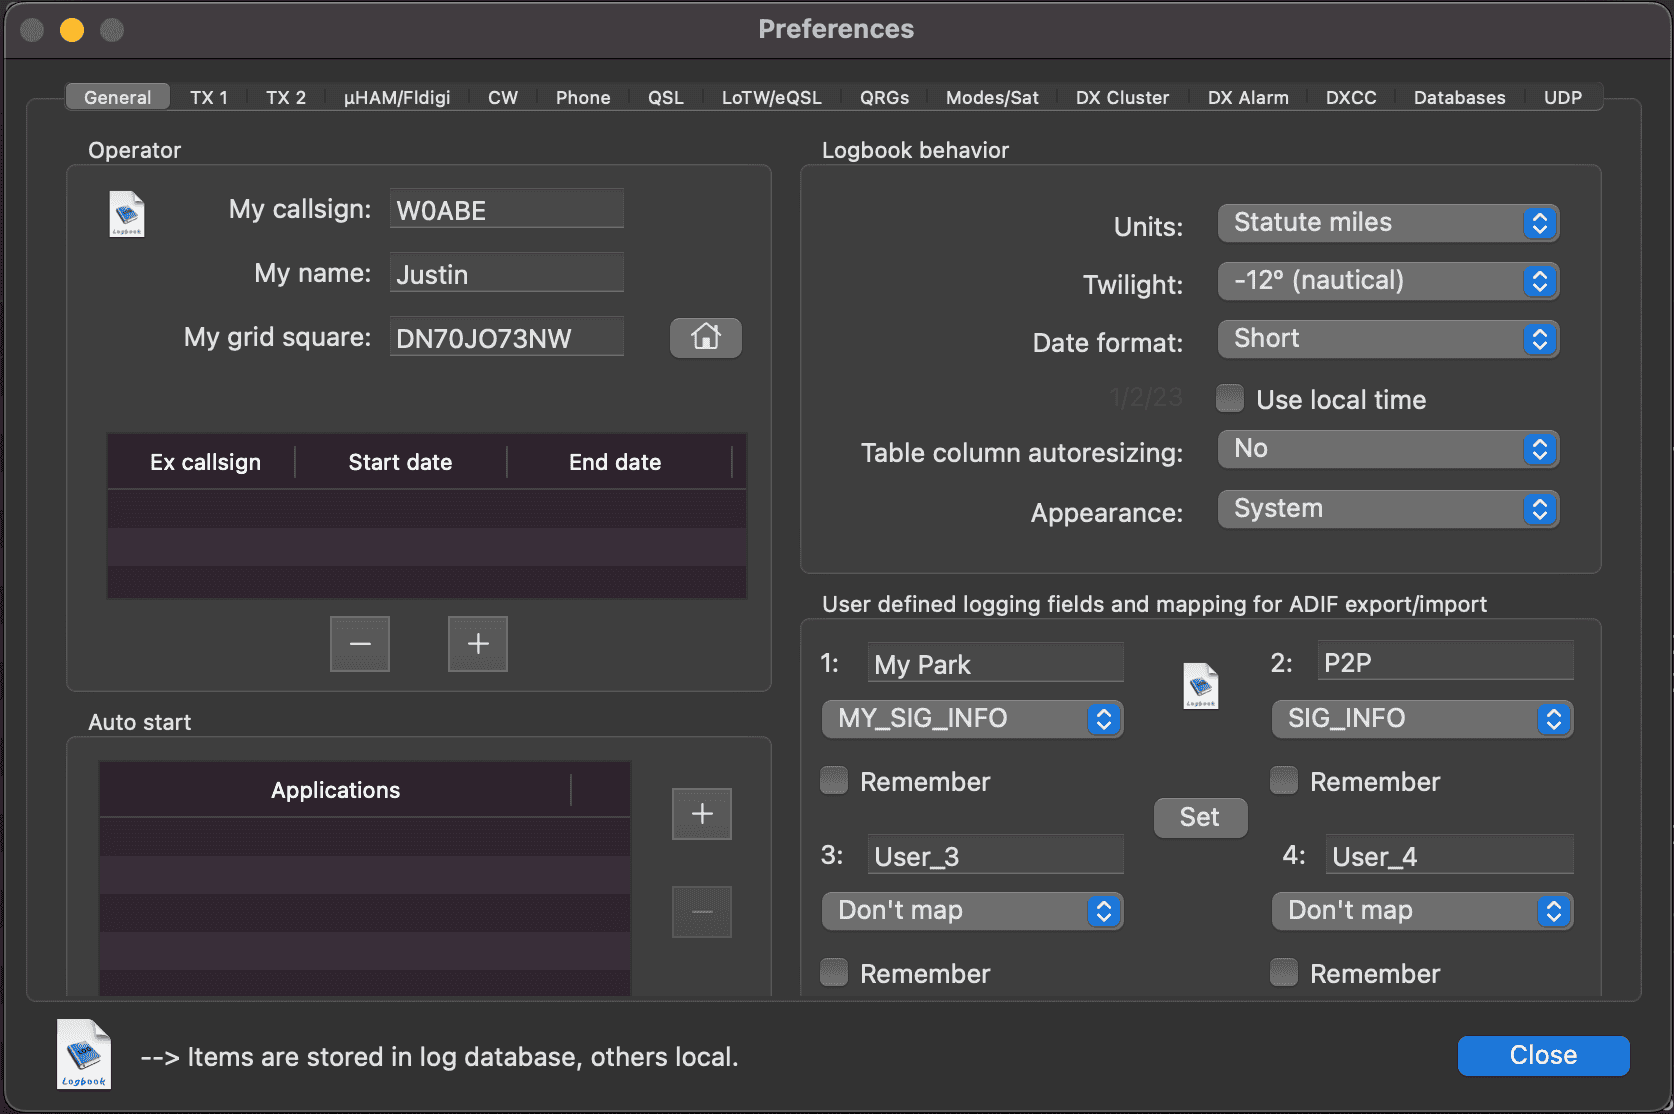
 2023 Winter Solstice QSL Card
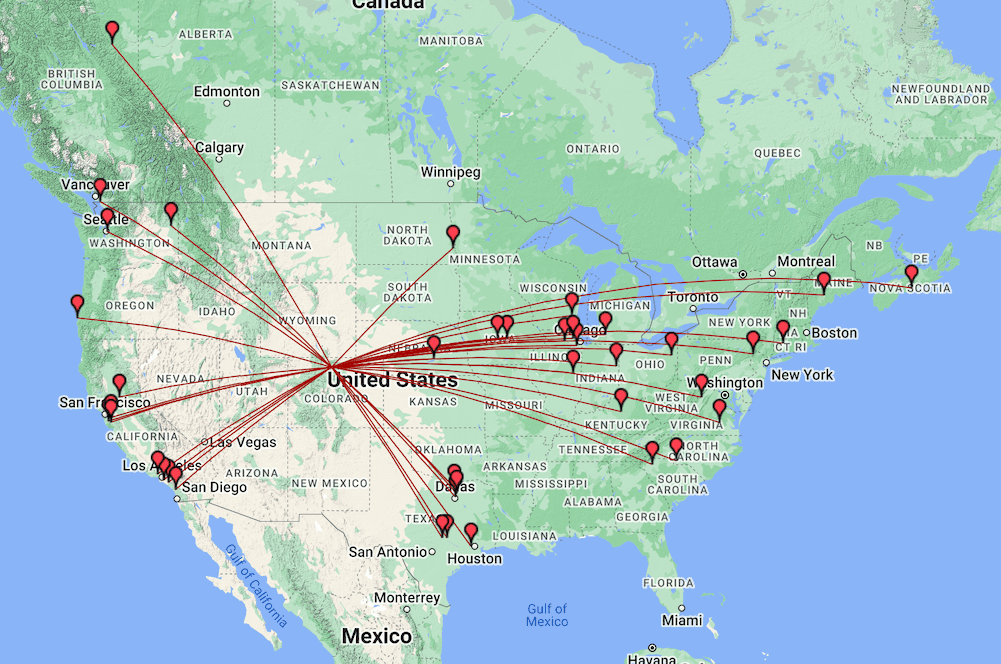
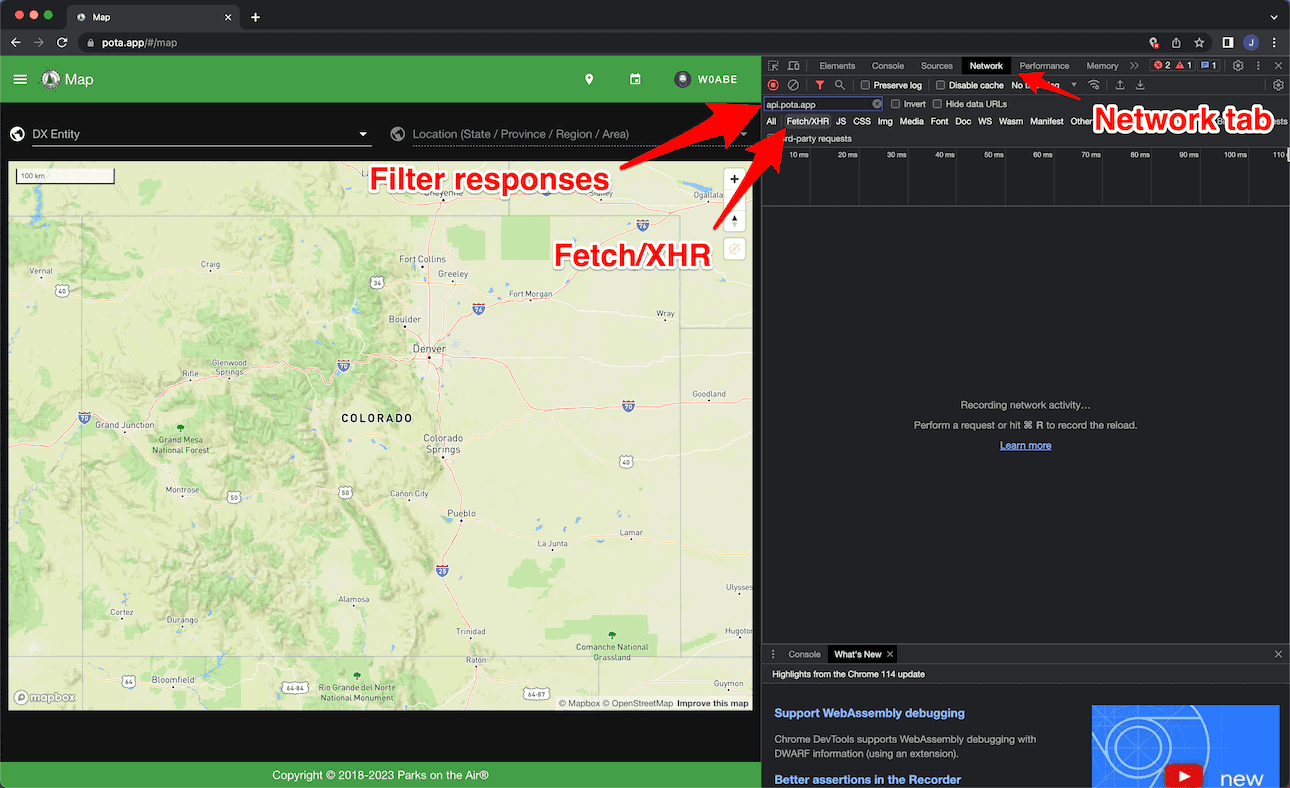
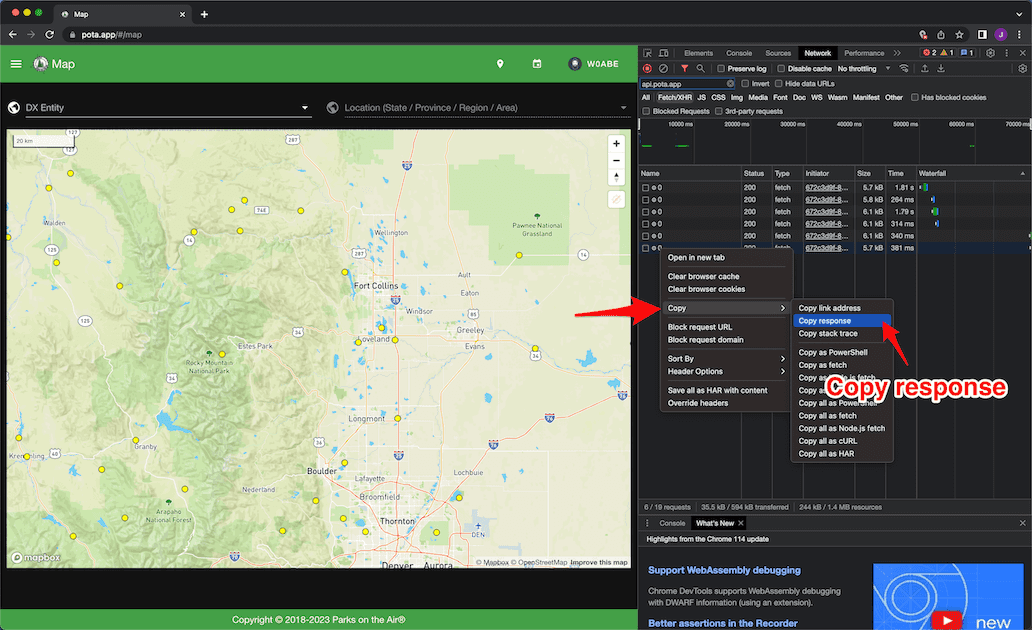
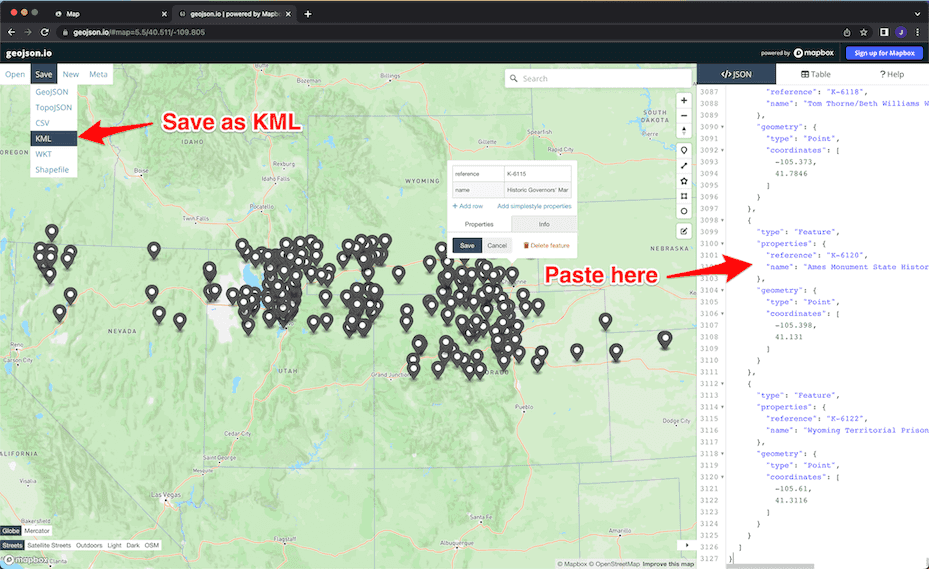
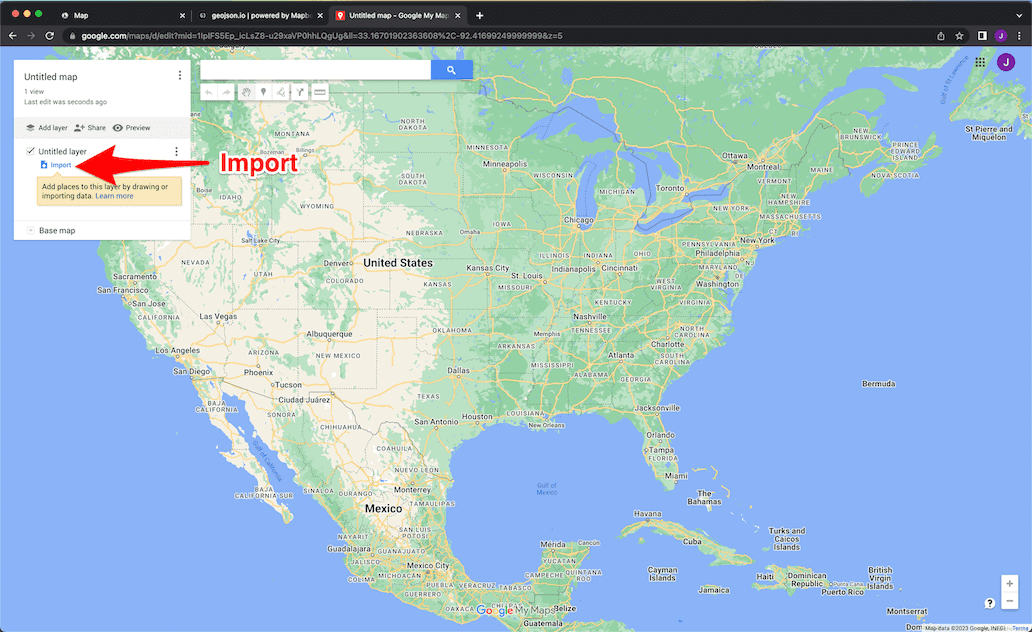
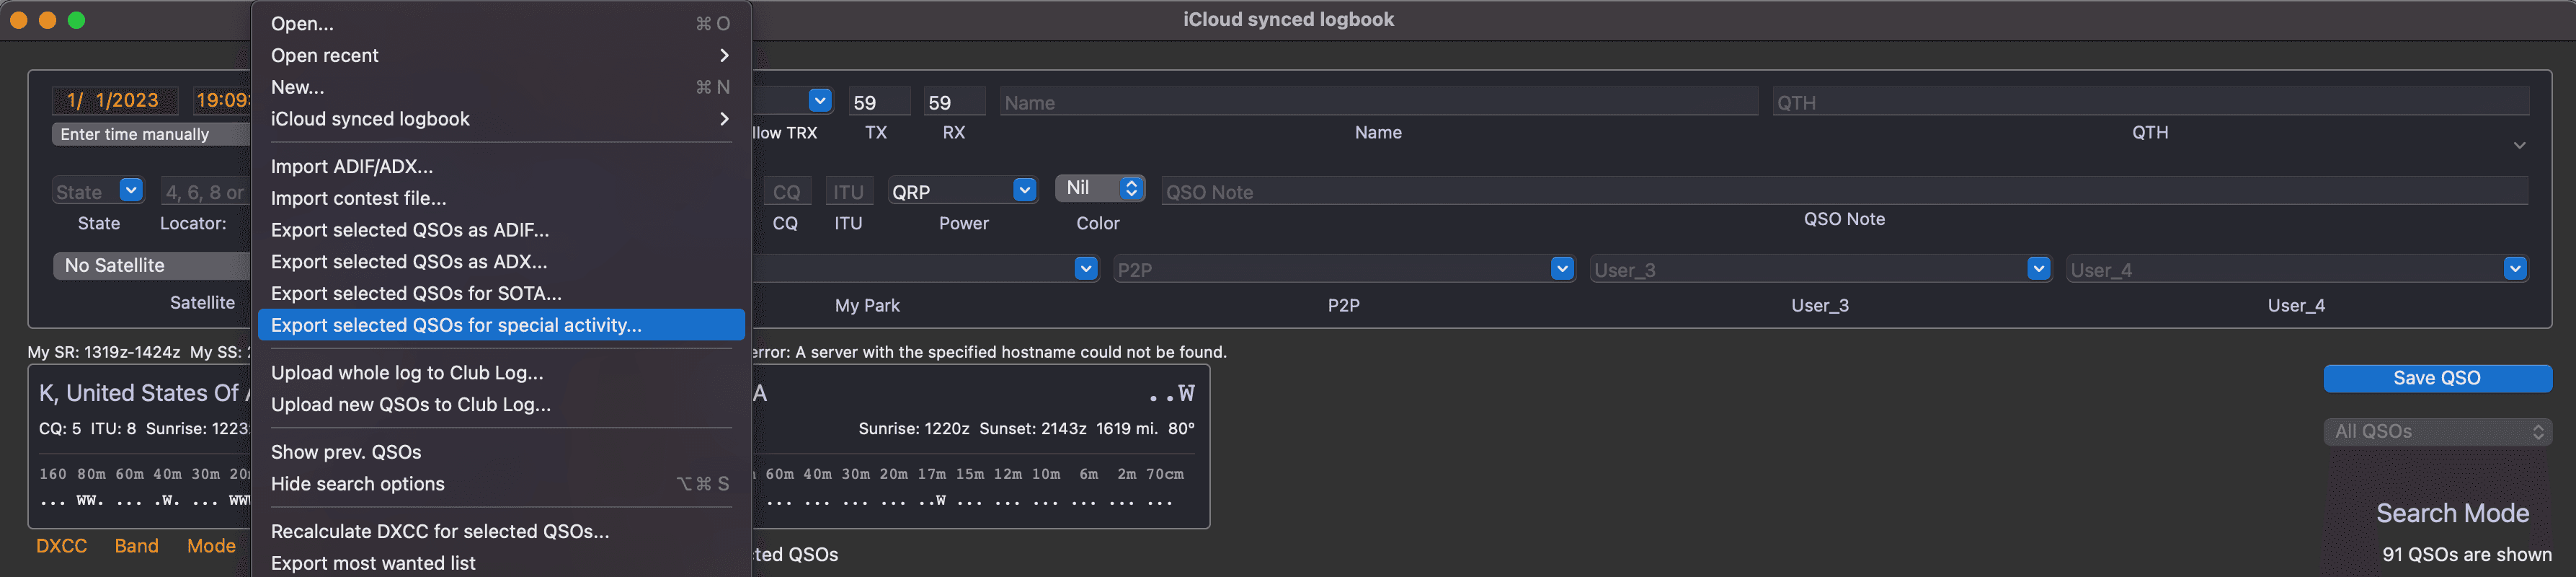
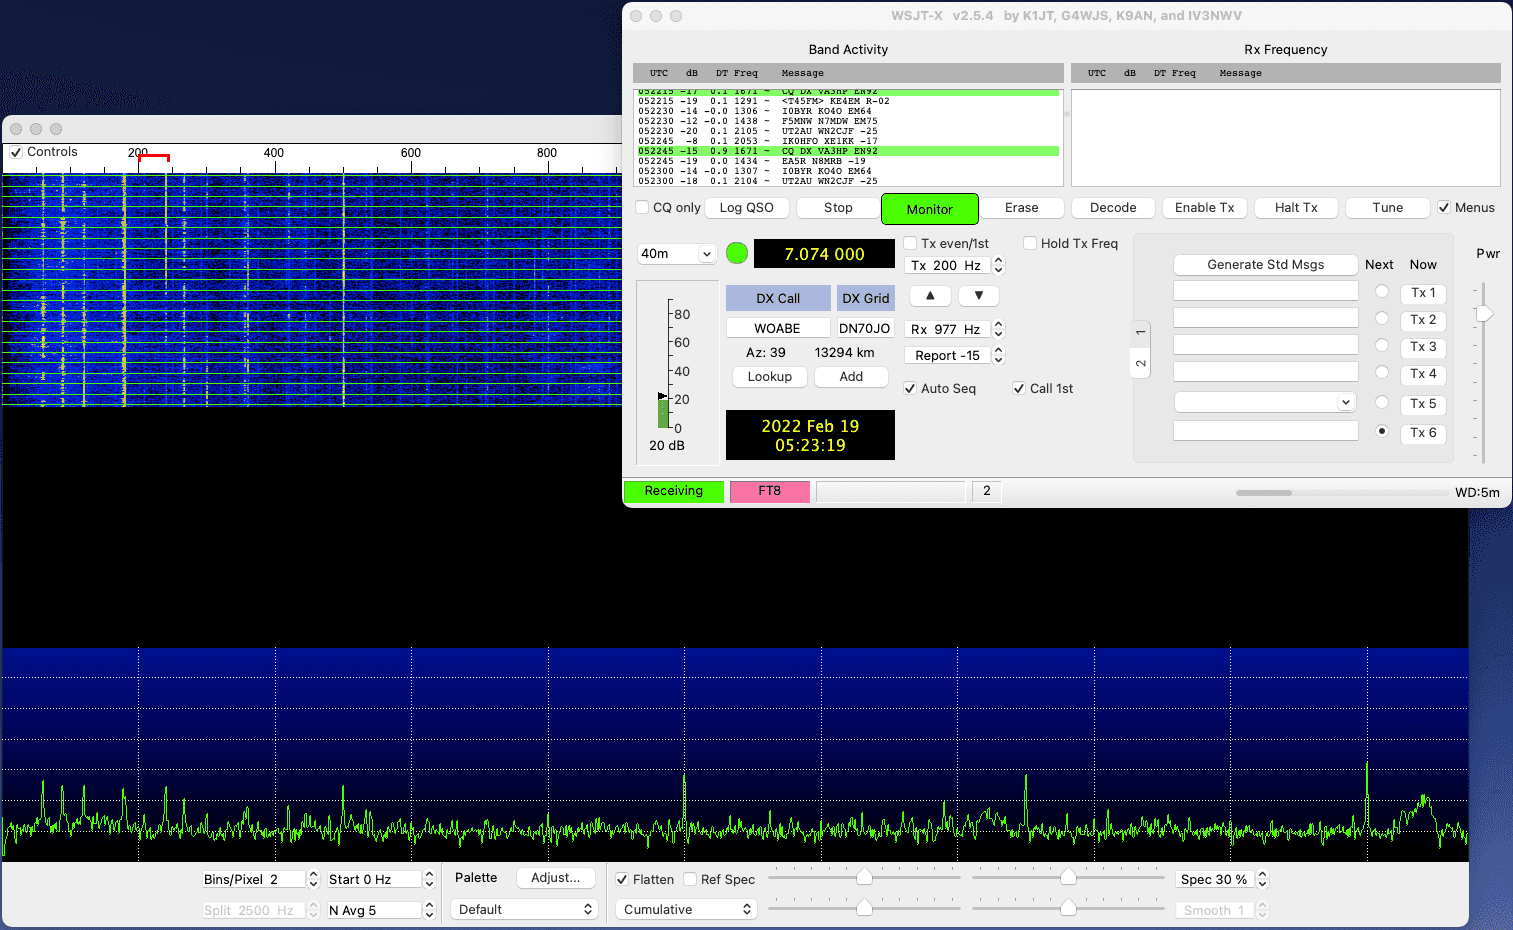
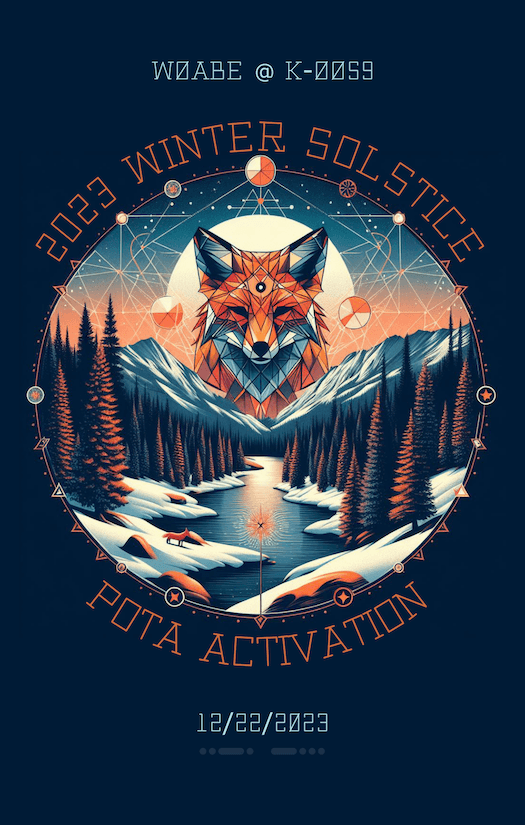
 QSO Map
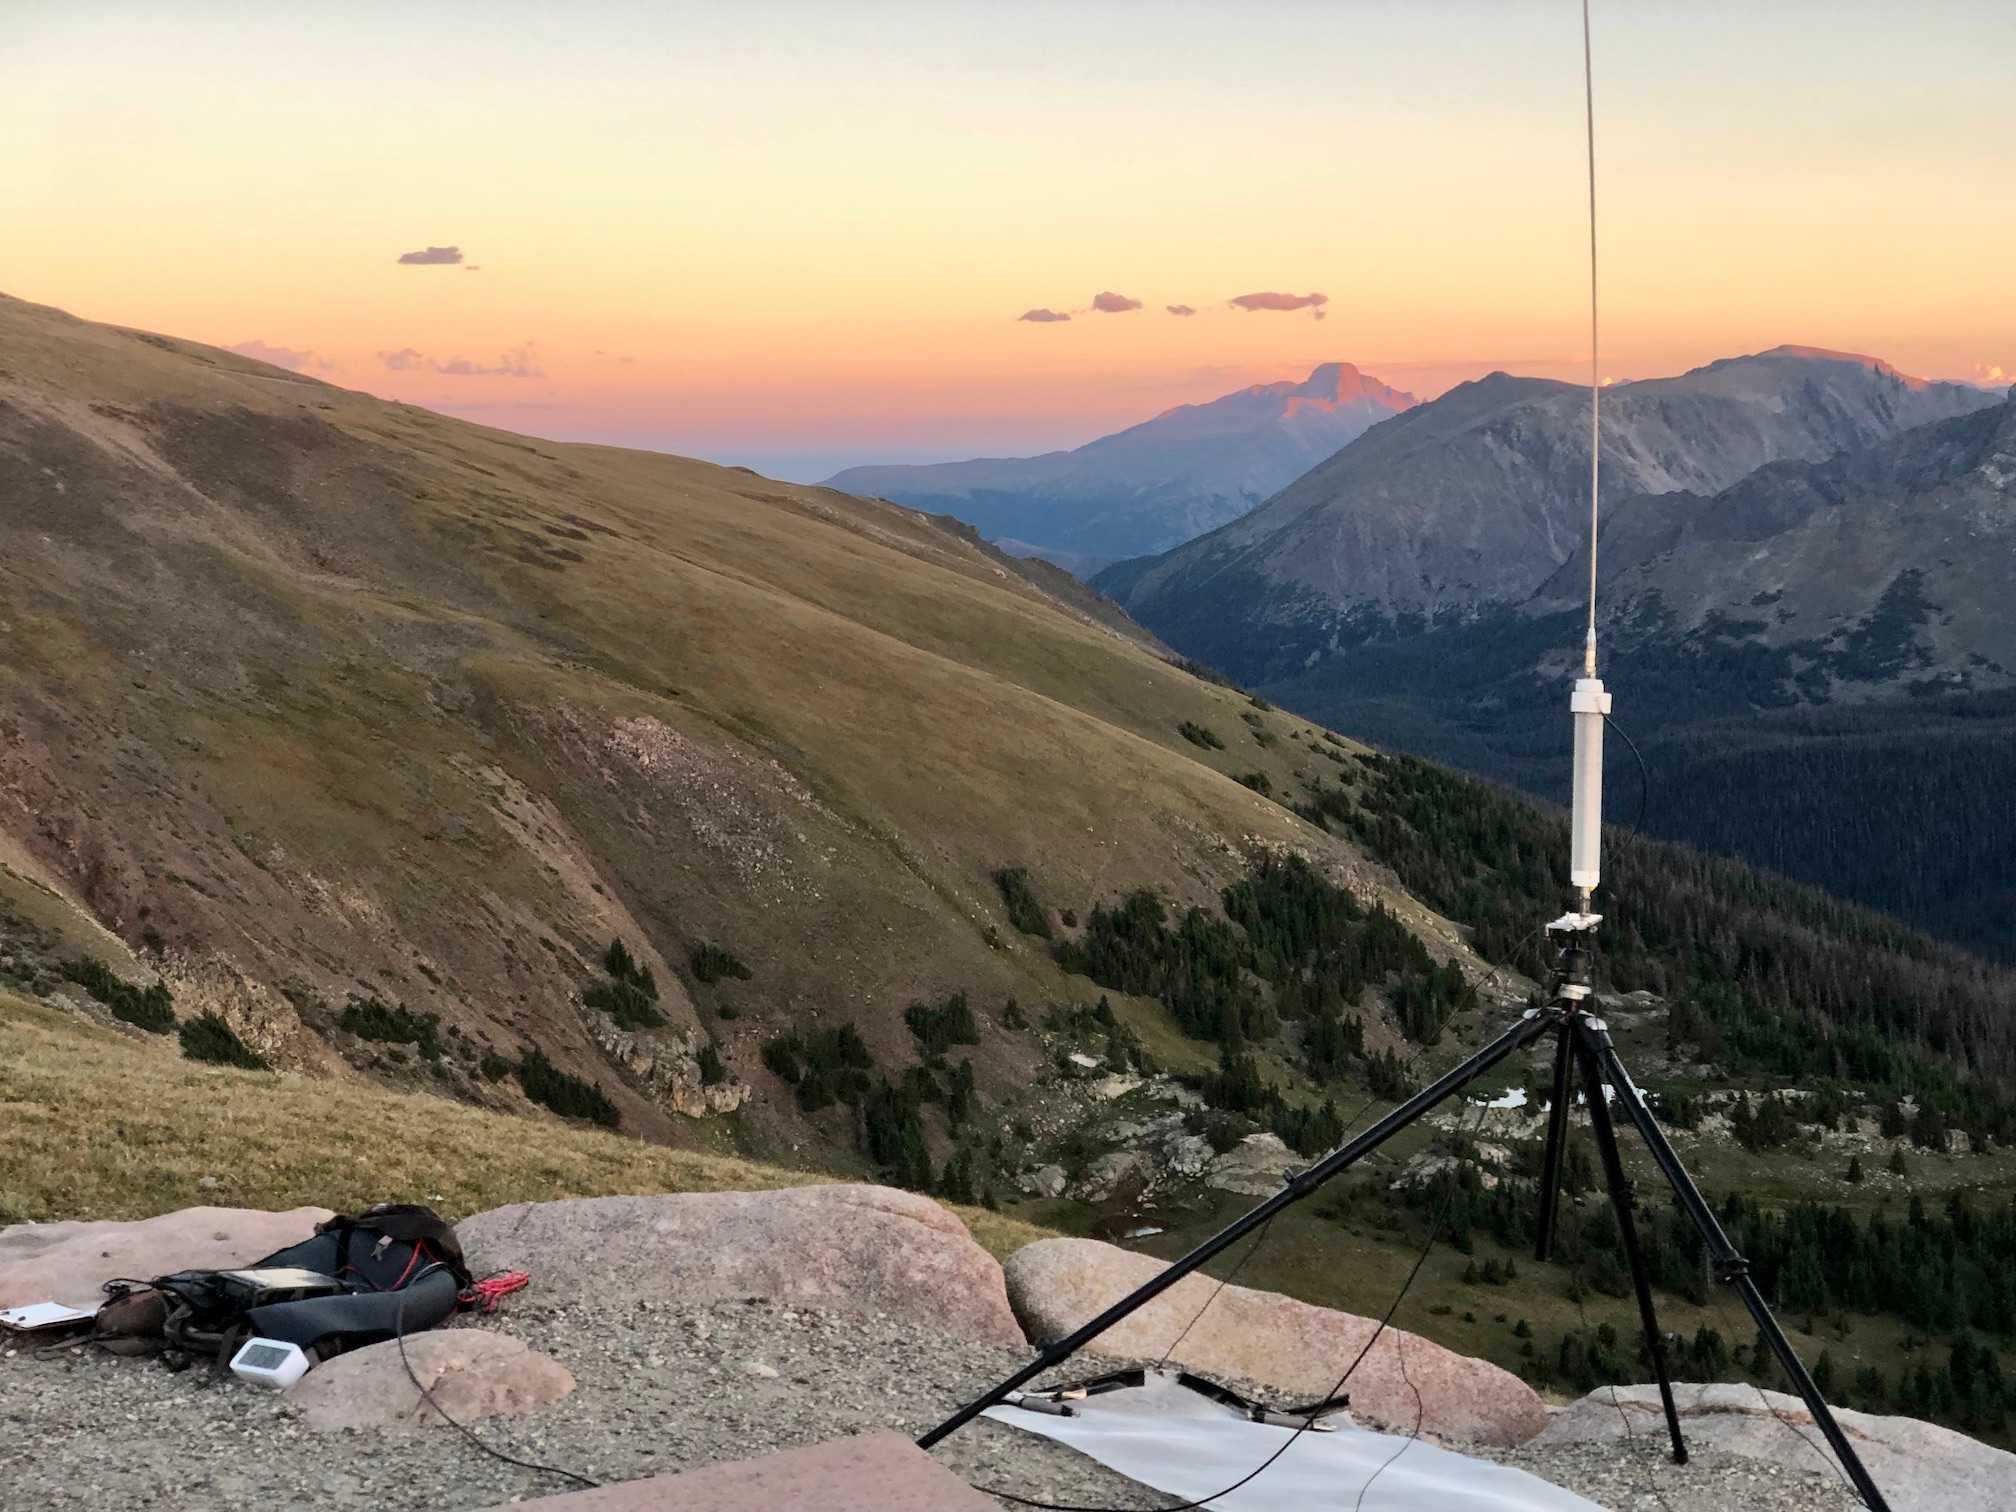
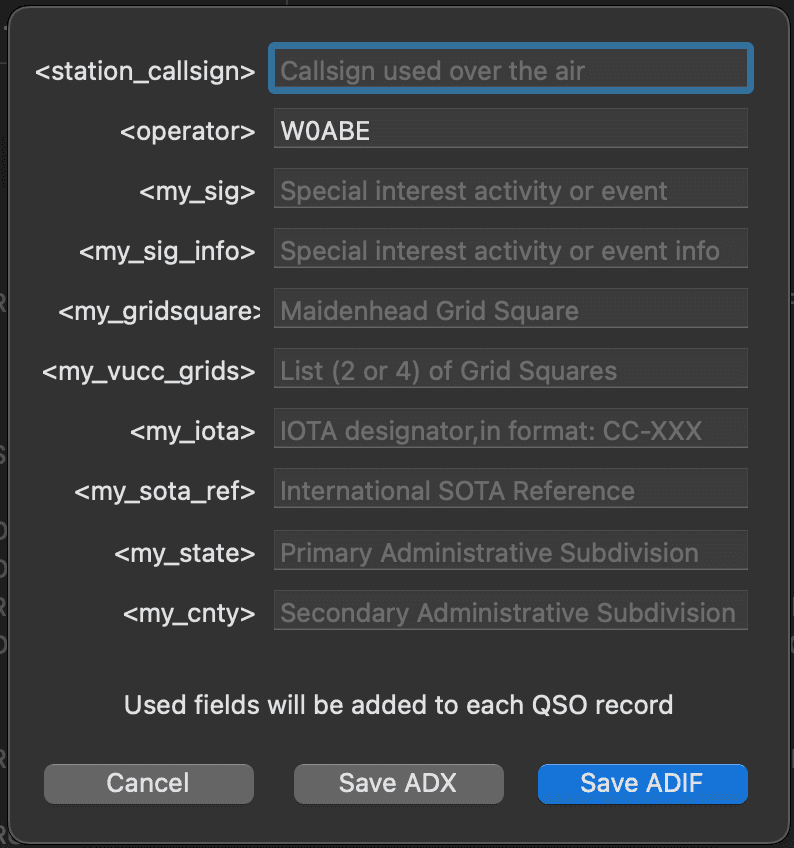
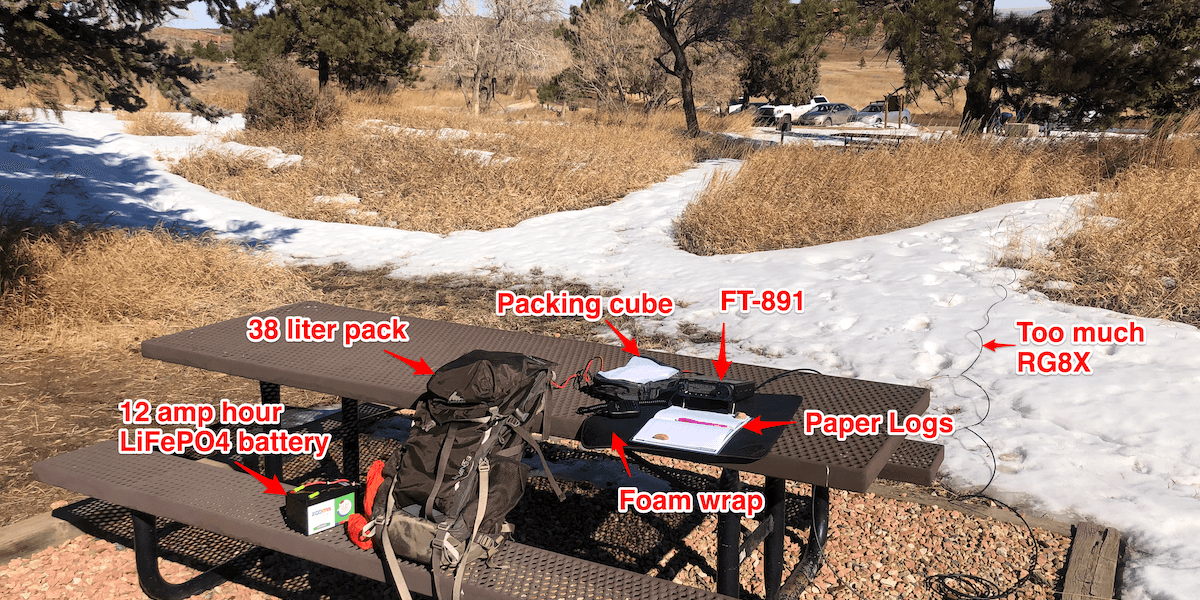
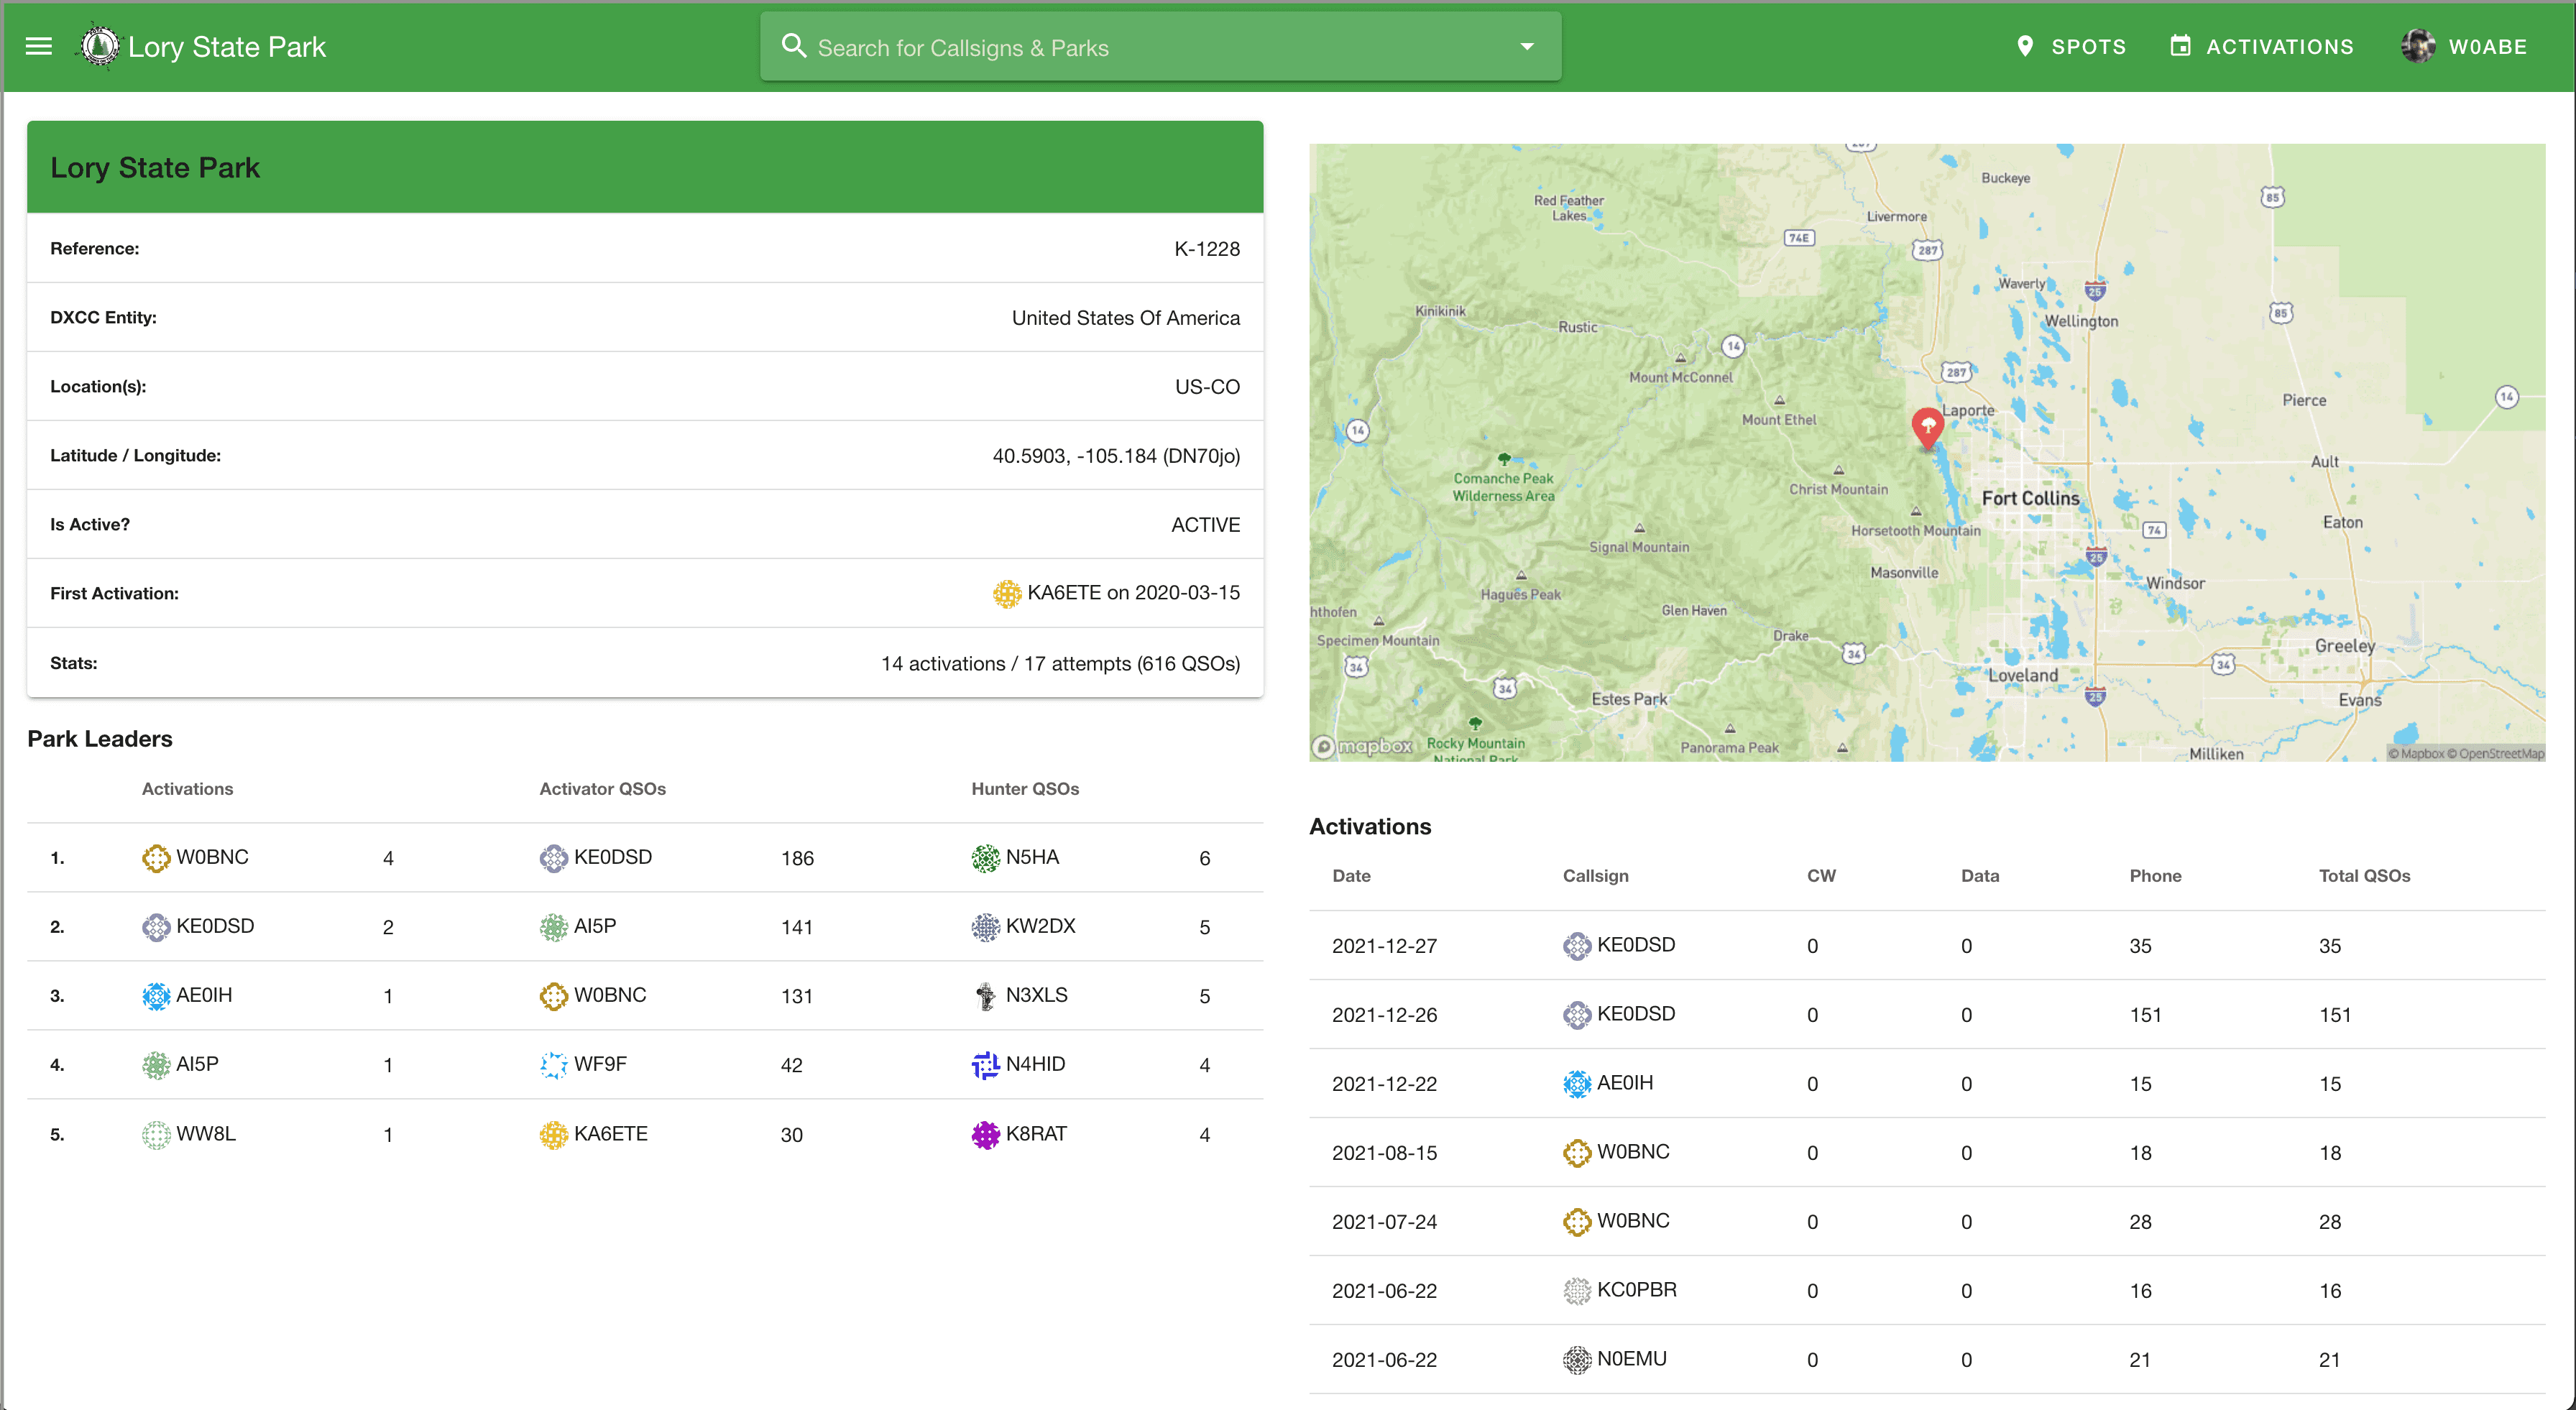
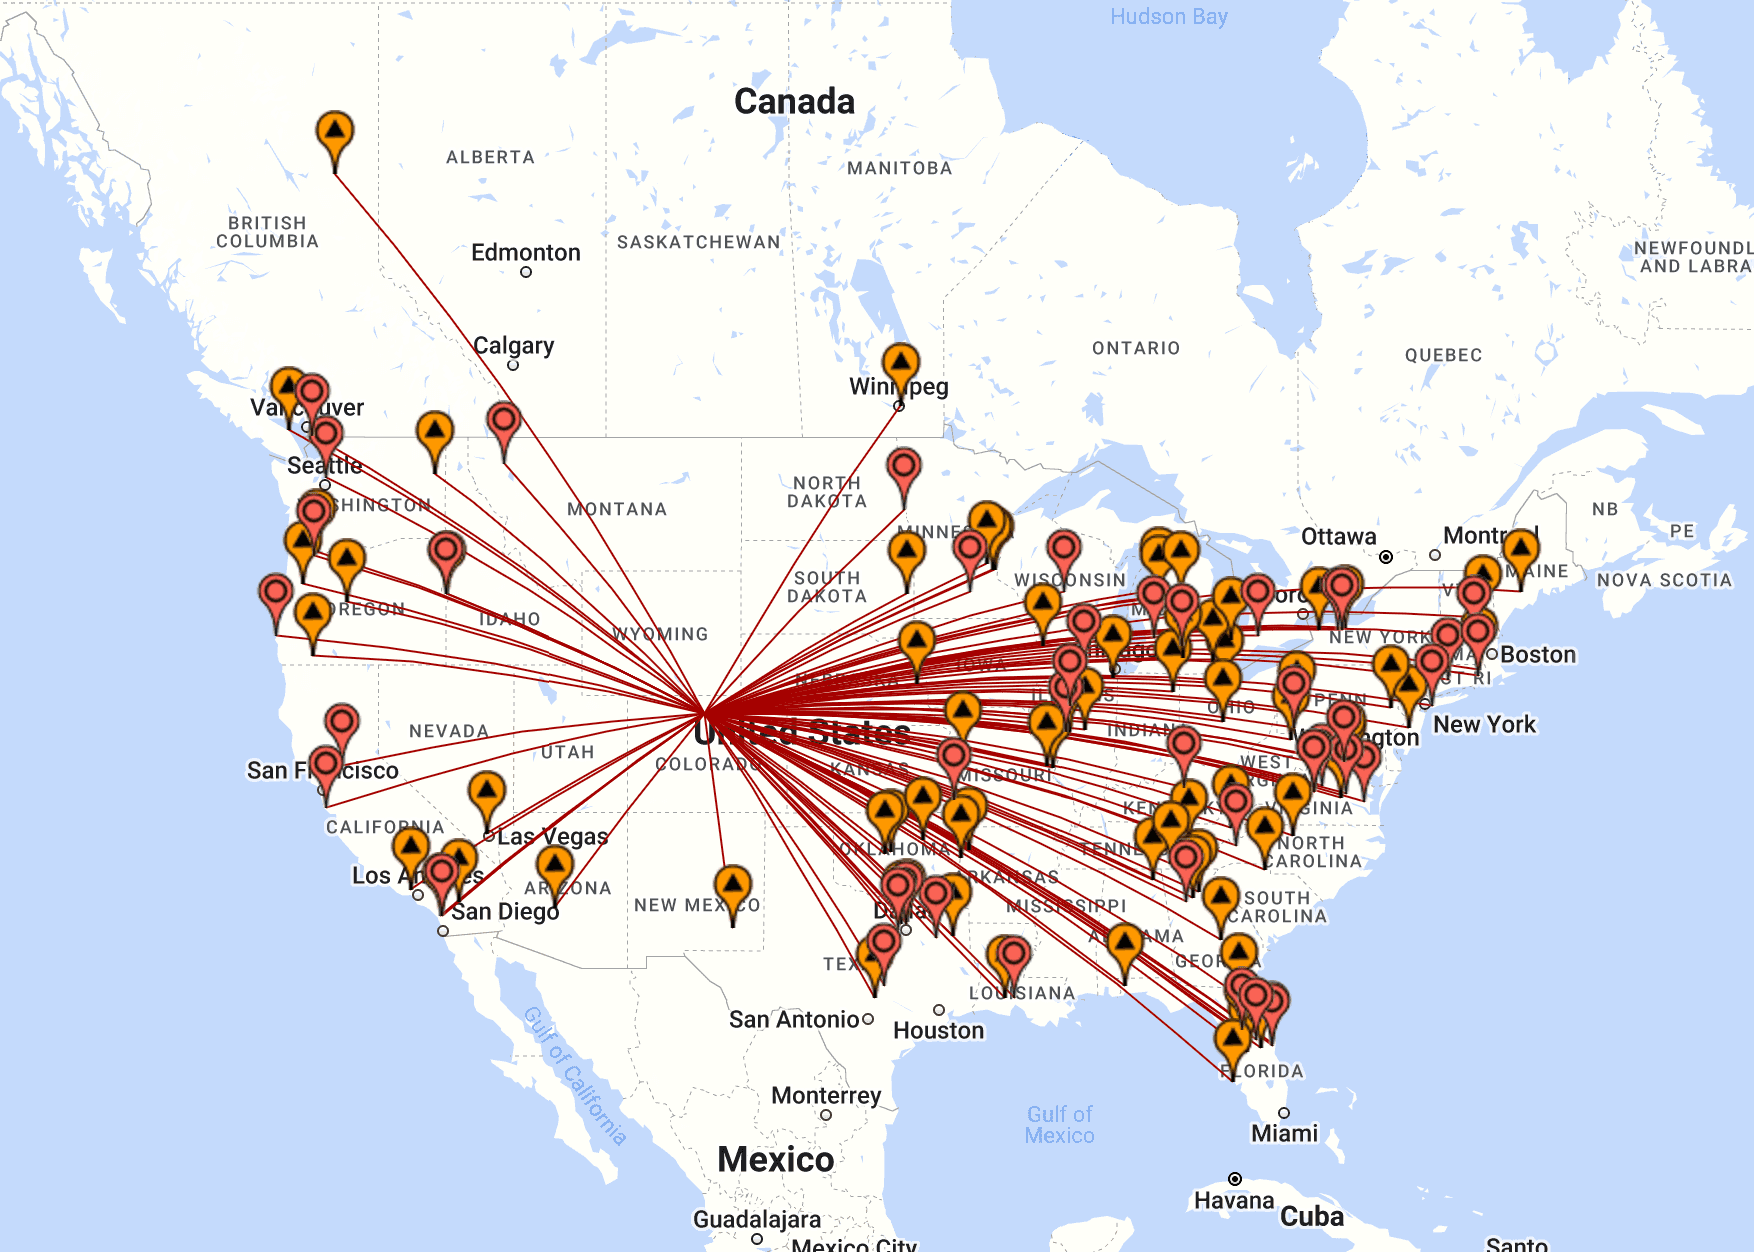
 Activation Location Scenery
Log 12.22.2023
QSL Cards
| TIME | CALL | BAND | Freq | TX | RX |
|---|---|---|---|---|---|
| 1900 | NØVRP | 17m | 18089.0 | 599 | 599 |
| 1901 | KJ7DT | 17m | 18089.0 | 599 | 599 |
| 1902 | N2GSL | 17m | 18089.0 | 569 | 559 |
| 1903 | KO4TFE | 17m | 18089.0 | 569 | 519 |
| 1904 | WB6IZG | 17m | 18089.0 | 599 | 599 |
| 1904 | ACØDK | 17m | 18089.0 | 559 | 599 |
| 1906 | KD9VAN | 17m | 18089.0 | 569 | 599 |
| 1907 | AI7JN | 17m | 18089.0 | 579 | 579 |
| 1908 | KG4NXT | 17m | 18089.0 | 569 | 549 |
| 1909 | KI5JG | 17m | 18089.0 | 599 | 599 |
| 1910 | VE7OM | 17m | 18089.0 | 539 | 599 |
| 1911 | K8RLE | 17m | 18089.0 | 549 | 599 |
| 1912 | K4AHO | 17m | 18089.0 | 579 | 579 |
| 1913 | WA7BRL | 17m | 18089.0 | 569 | 579 |
| 1914 | K9KVS | 17m | 18089.0 | 579 | 599 |
| 1915 | NØSMX | 17m | 18089.0 | 589 | 579 |
| 1916 | N4TIZ | 17m | 18089.0 | 549 | 559 |
| 1917 | W8OV | 17m | 18089.0 | 589 | 599 |
| 1918 | KD5GLX | 17m | 18089.0 | 579 | 599 |
| 1919 | VE3OT | 17m | 18089.0 | 339 | 579 |
| 1920 | WB7DND | 17m | 18089.0 | 579 | 589 |
| 1921 | WI9K | 17m | 18089.0 | 569 | 599 |
| 1922 | N1BS | 17m | 18089.0 | 439 | 559 |
| 1922 | W9MIC | 17m | 18089.0 | 549 | 579 |
| 1923 | W7WXR | 17m | 18089.0 | 599 | 559 |
| 1927 | K4CAB | 17m | 18089.0 | 339 | 569 |
| 1928 | W4LBG | 17m | 18089.0 | 599 | 599 |
| 1929 | N8AJM | 17m | 18089.0 | 449 | 599 |
| 1931 | W4VIG | 17m | 18089.0 | 449 | 559 |
| 1931 | N2TNN | 17m | 18089.0 | 599 | 599 |
| 1932 | K4CGY | 17m | 18089.0 | 599 | 599 |
| 1934 | KE2LW | 17m | 18089.0 | 589 | 539 |
| 1935 | K6XX | 17m | 18089.0 | 579 | 579 |
| 1936 | WE5H | 17m | 18089.0 | 599 | 599 |
| 1937 | K5FNQ | 17m | 18089.0 | 599 | 559 |
| 1938 | K5KHK | 17m | 18089.0 | 549 | 559 |
| 1939 | KN4JN | 17m | 18089.0 | 559 | 519 |
| 1939 | K9CJM | 17m | 18089.0 | 559 | 559 |
| 1940 | KC3PBY | 17m | 18089.0 | 599 | 599 |
| 1942 | N6KEN | 17m | 18089.0 | 599 | 559 |
| 1942 | WJ1B | 17m | 18089.0 | 579 | 539 |
| 1943 | W2NR | 17m | 18089.0 | 439 | 559 |
| 1944 | NØANE | 17m | 18089.0 | 599 | 599 |
| 1947 | K4SP | 20m | 14068.0 | 579 | 579 |
| 1948 | W5TN | 20m | 14068.0 | 599 | 579 |
| 1949 | KD5RXP | 20m | 14068.0 | 599 | 599 |
| 1949 | K5UTM | 20m | 14068.0 | 549 | 599 |
| 1950 | NY9P | 20m | 14068.0 | 599 | 599 |
| 1951 | N5GG | 20m | 14068.0 | 599 | 579 |
| 1952 | KJ7DT | 20m | 14068.0 | 599 | 599 |
| 1953 | N9JFZ | 20m | 14068.0 | 579 | 449 |
| 1954 | AB4GE | 20m | 14068.0 | 589 | 579 |
| 1954 | W2NC | 20m | 14068.0 | 599 | 599 |
| 1956 | KC1FUU | 20m | 14068.0 | 559 | 559 |
| 1956 | K9VEG | 20m | 14068.0 | 579 | 559 |
| 1958 | KD8RGW | 20m | 14068.0 | 589 | 599 |
| 1959 | KD2UBJ | 20m | 14068.0 | 599 | 559 |
| 2000 | WY8O | 20m | 14068.0 | 579 | 579 |
| 2001 | KFØAIT | 20m | 14068.0 | 599 | 599 |
| 2002 | NQ5M | 20m | 14068.0 | 589 | 579 |
| 2003 | WB6RLC | 20m | 14068.0 | 599 | 559 |
| 2004 | VE7KI | 20m | 14068.0 | 579 | 559 |
| 2005 | WB8IZM | 20m | 14068.0 | 599 | 559 |
| 2006 | N8BB | 20m | 14068.0 | 569 | 599 |
| 2006 | AI7MB | 20m | 14068.0 | 589 | 559 |
| 2007 | VE4GH | 20m | 14068.0 | 559 | 559 |
| 2009 | KE5VT | 20m | 14068.0 | 589 | 539 |
| 2010 | W4HP | 20m | 14068.0 | 579 | 579 |
| 2011 | K7ATN | 20m | 14068.0 | 449 | 559 |
| 2011 | W3IL | 20m | 14068.0 | 599 | 599 |
| 2012 | KMØU | 20m | 14068.0 | 599 | 549 |
| 2013 | WA8UPB | 20m | 14068.0 | 599 | 599 |
| 2013 | N4NN | 20m | 14068.0 | 599 | 599 |
| 2015 | N1XV | 20m | 14068.0 | 569 | 569 |
| 2015 | N7CCD | 20m | 14068.0 | 579 | 599 |
| 2016 | WV3V | 20m | 14068.0 | 589 | 599 |
| 2017 | KE4Q | 20m | 14068.0 | 579 | 559 |
| 2018 | VE7JYD | 20m | 14068.0 | 579 | 559 |
| 2019 | K1BZ | 20m | 14068.0 | 579 | 559 |
| 2020 | N4REE | 20m | 14068.0 | 439 | 559 |
| 2020 | W8MND | 20m | 14068.0 | 599 | 579 |
| 2022 | KJ5W | 20m | 14068.0 | 599 | 599 |
| 2023 | W7JHR | 20m | 14068.0 | 579 | 599 |
| 2025 | KE7F | 20m | 14068.0 | 599 | 599 |
| 2025 | AC5M | 20m | 14068.0 | 599 | 599 |
| 2026 | N8HOQ | 20m | 14068.0 | 589 | 599 |
| 2029 | KD7DUG | 20m | 14068.0 | 579 | 559 |
| 2031 | AE2T | 20m | 14068.0 | 569 | 339 |
| 2032 | WAØP | 20m | 14068.0 | 579 | 579 |
| 2032 | N5RLH | 20m | 14068.0 | 569 | 559 |
| 2034 | NØTTI | 20m | 14068.0 | 449 | 559 |
| 2036 | WB9TYJ | 20m | 14068.0 | 579 | 599 |
| 2036 | AC5OC | 20m | 14068.0 | 599 | 599 |
| 2037 | N4DH | 20m | 14068.0 | 449 | 599 |
| 2039 | W4KXT | 20m | 14068.0 | 589 | 599 |
| 2041 | WB5OZA | 20m | 14068.0 | 599 | 579 |
| 2042 | K7UPJ | 20m | 14068.0 | 449 | 529 |
Electronic QSL Cards
| TIME | CALL | BAND | Freq | TX | RX |
|---|---|---|---|---|---|
| 2043 | KI9T | 20m | 14068.0 | 449 | 559 |
| 2044 | WB6VIC | 20m | 14068.0 | 579 | 569 |
| 2045 | KAØREN | 20m | 14068.0 | 599 | 579 |
| 2046 | KB5FCF | 20m | 14068.0 | 599 | 599 |
| 2047 | K9JP | 20m | 14068.0 | 549 | 579 |
| 2048 | WØGAF | 20m | 14068.0 | 579 | 559 |
| 2049 | N1RBD | 20m | 14068.0 | 559 | 559 |
| 2049 | WD4AWD | 20m | 14068.0 | 599 | 569 |
| 2050 | WM4X | 20m | 14068.0 | 569 | 559 |
| 2051 | WW4N | 20m | 14068.0 | 549 | 549 |
| 2052 | ADØSN | 20m | 14068.0 | 599 | 599 |
| 2053 | N5KIP | 20m | 14068.0 | 559 | 559 |
| 2055 | N4XAT | 20m | 14068.0 | 229 | 529 |
| 2056 | W8CAR | 20m | 14068.0 | 599 | 599 |
| 2057 | N5FY | 20m | 14068.0 | 339 | 559 |
| 2057 | NS3U | 20m | 14068.0 | 549 | 539 |
| 2058 | K1VP | 20m | 14068.0 | 569 | 579 |
| 2100 | KE8KMX | 20m | 14068.0 | 559 | 599 |
| 2100 | KØCW | 20m | 14068.0 | 579 | 589 |